

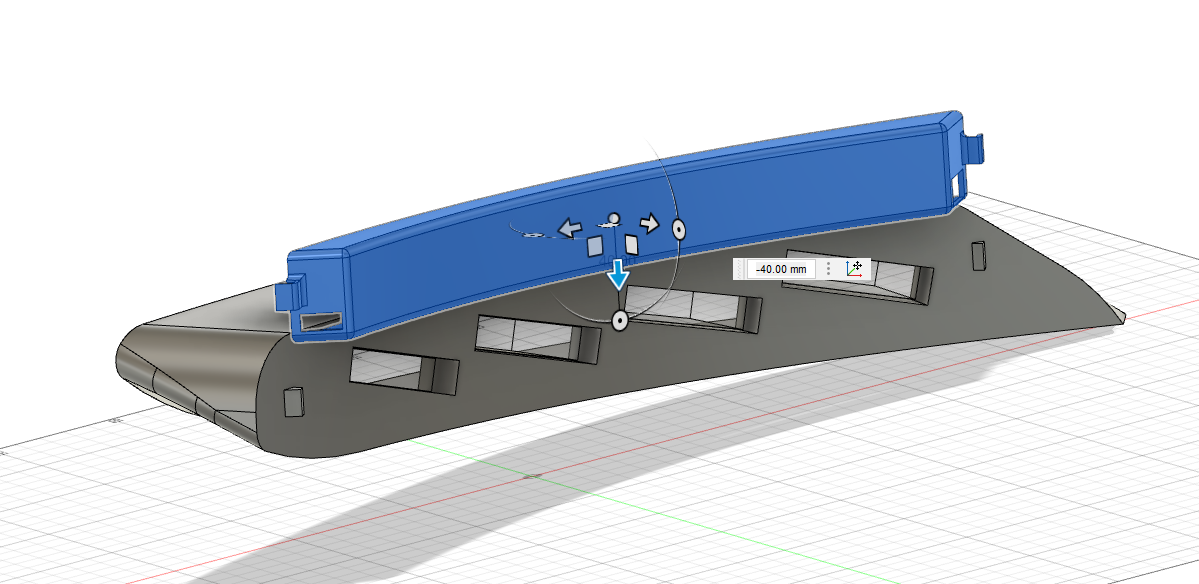
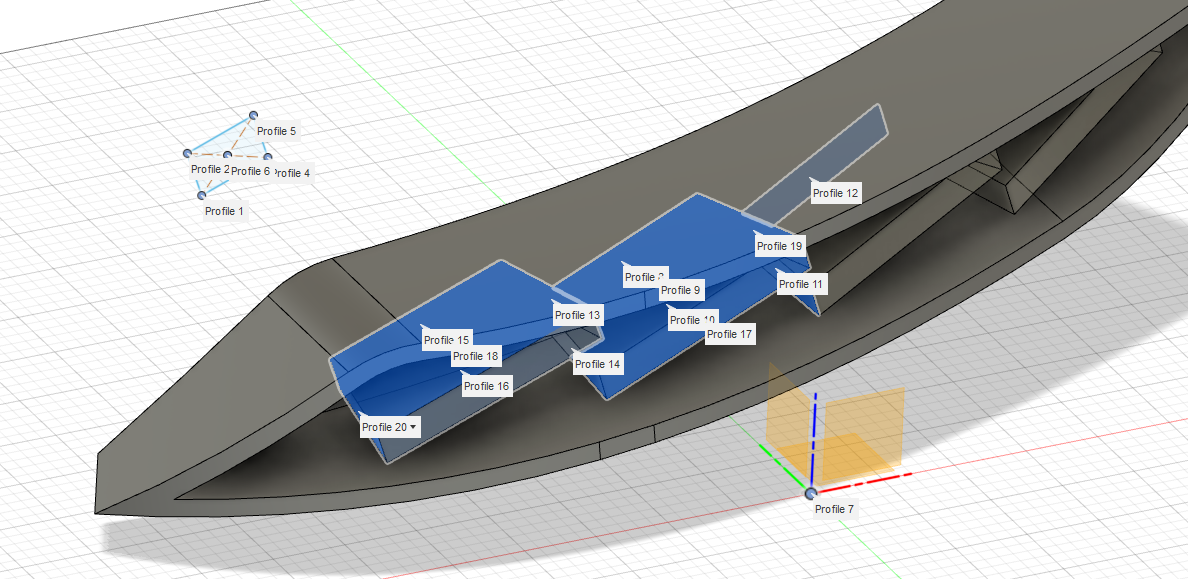
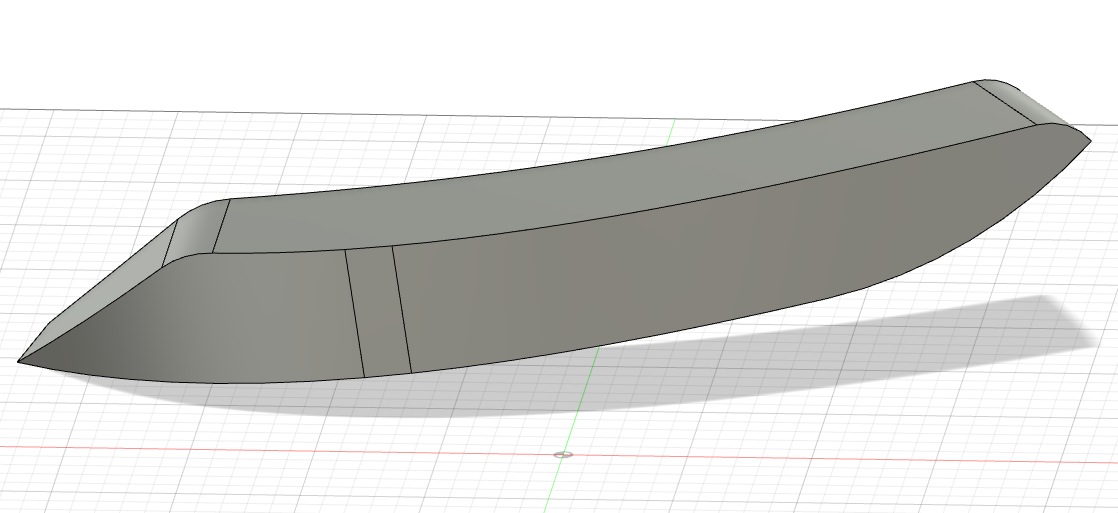
This was the beginning of the process. Designing it in Autodesk Fusion 360, and making it so the acrylic panels could be manufactured to correctly fit in place. Careful consideration was also put into ensuring a quick and trouble free 3D model.

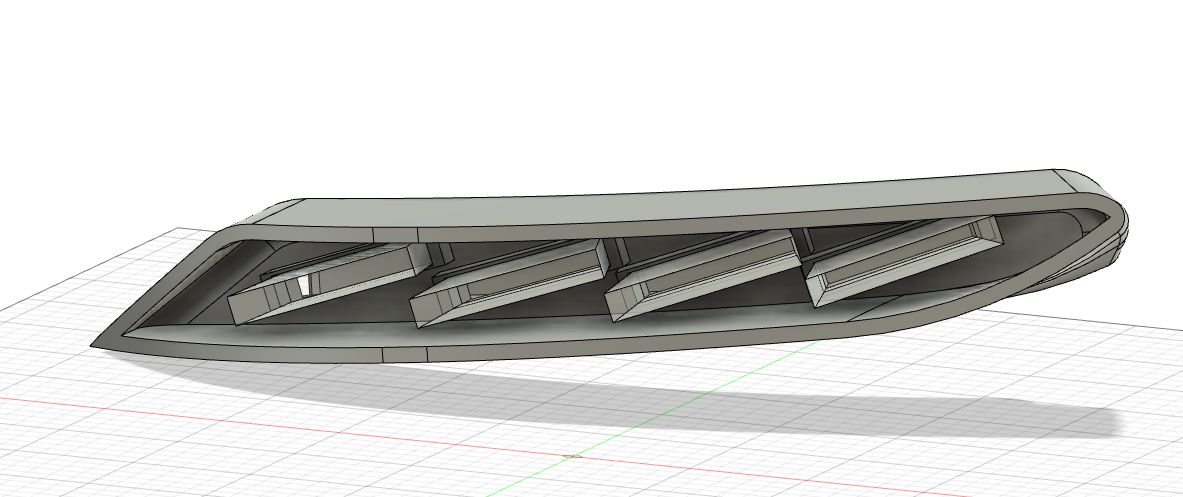
This is the process stage. Several different processes were used such as ;
Vacuum forming, 3D printing, and sanding/priming, and clear coat.
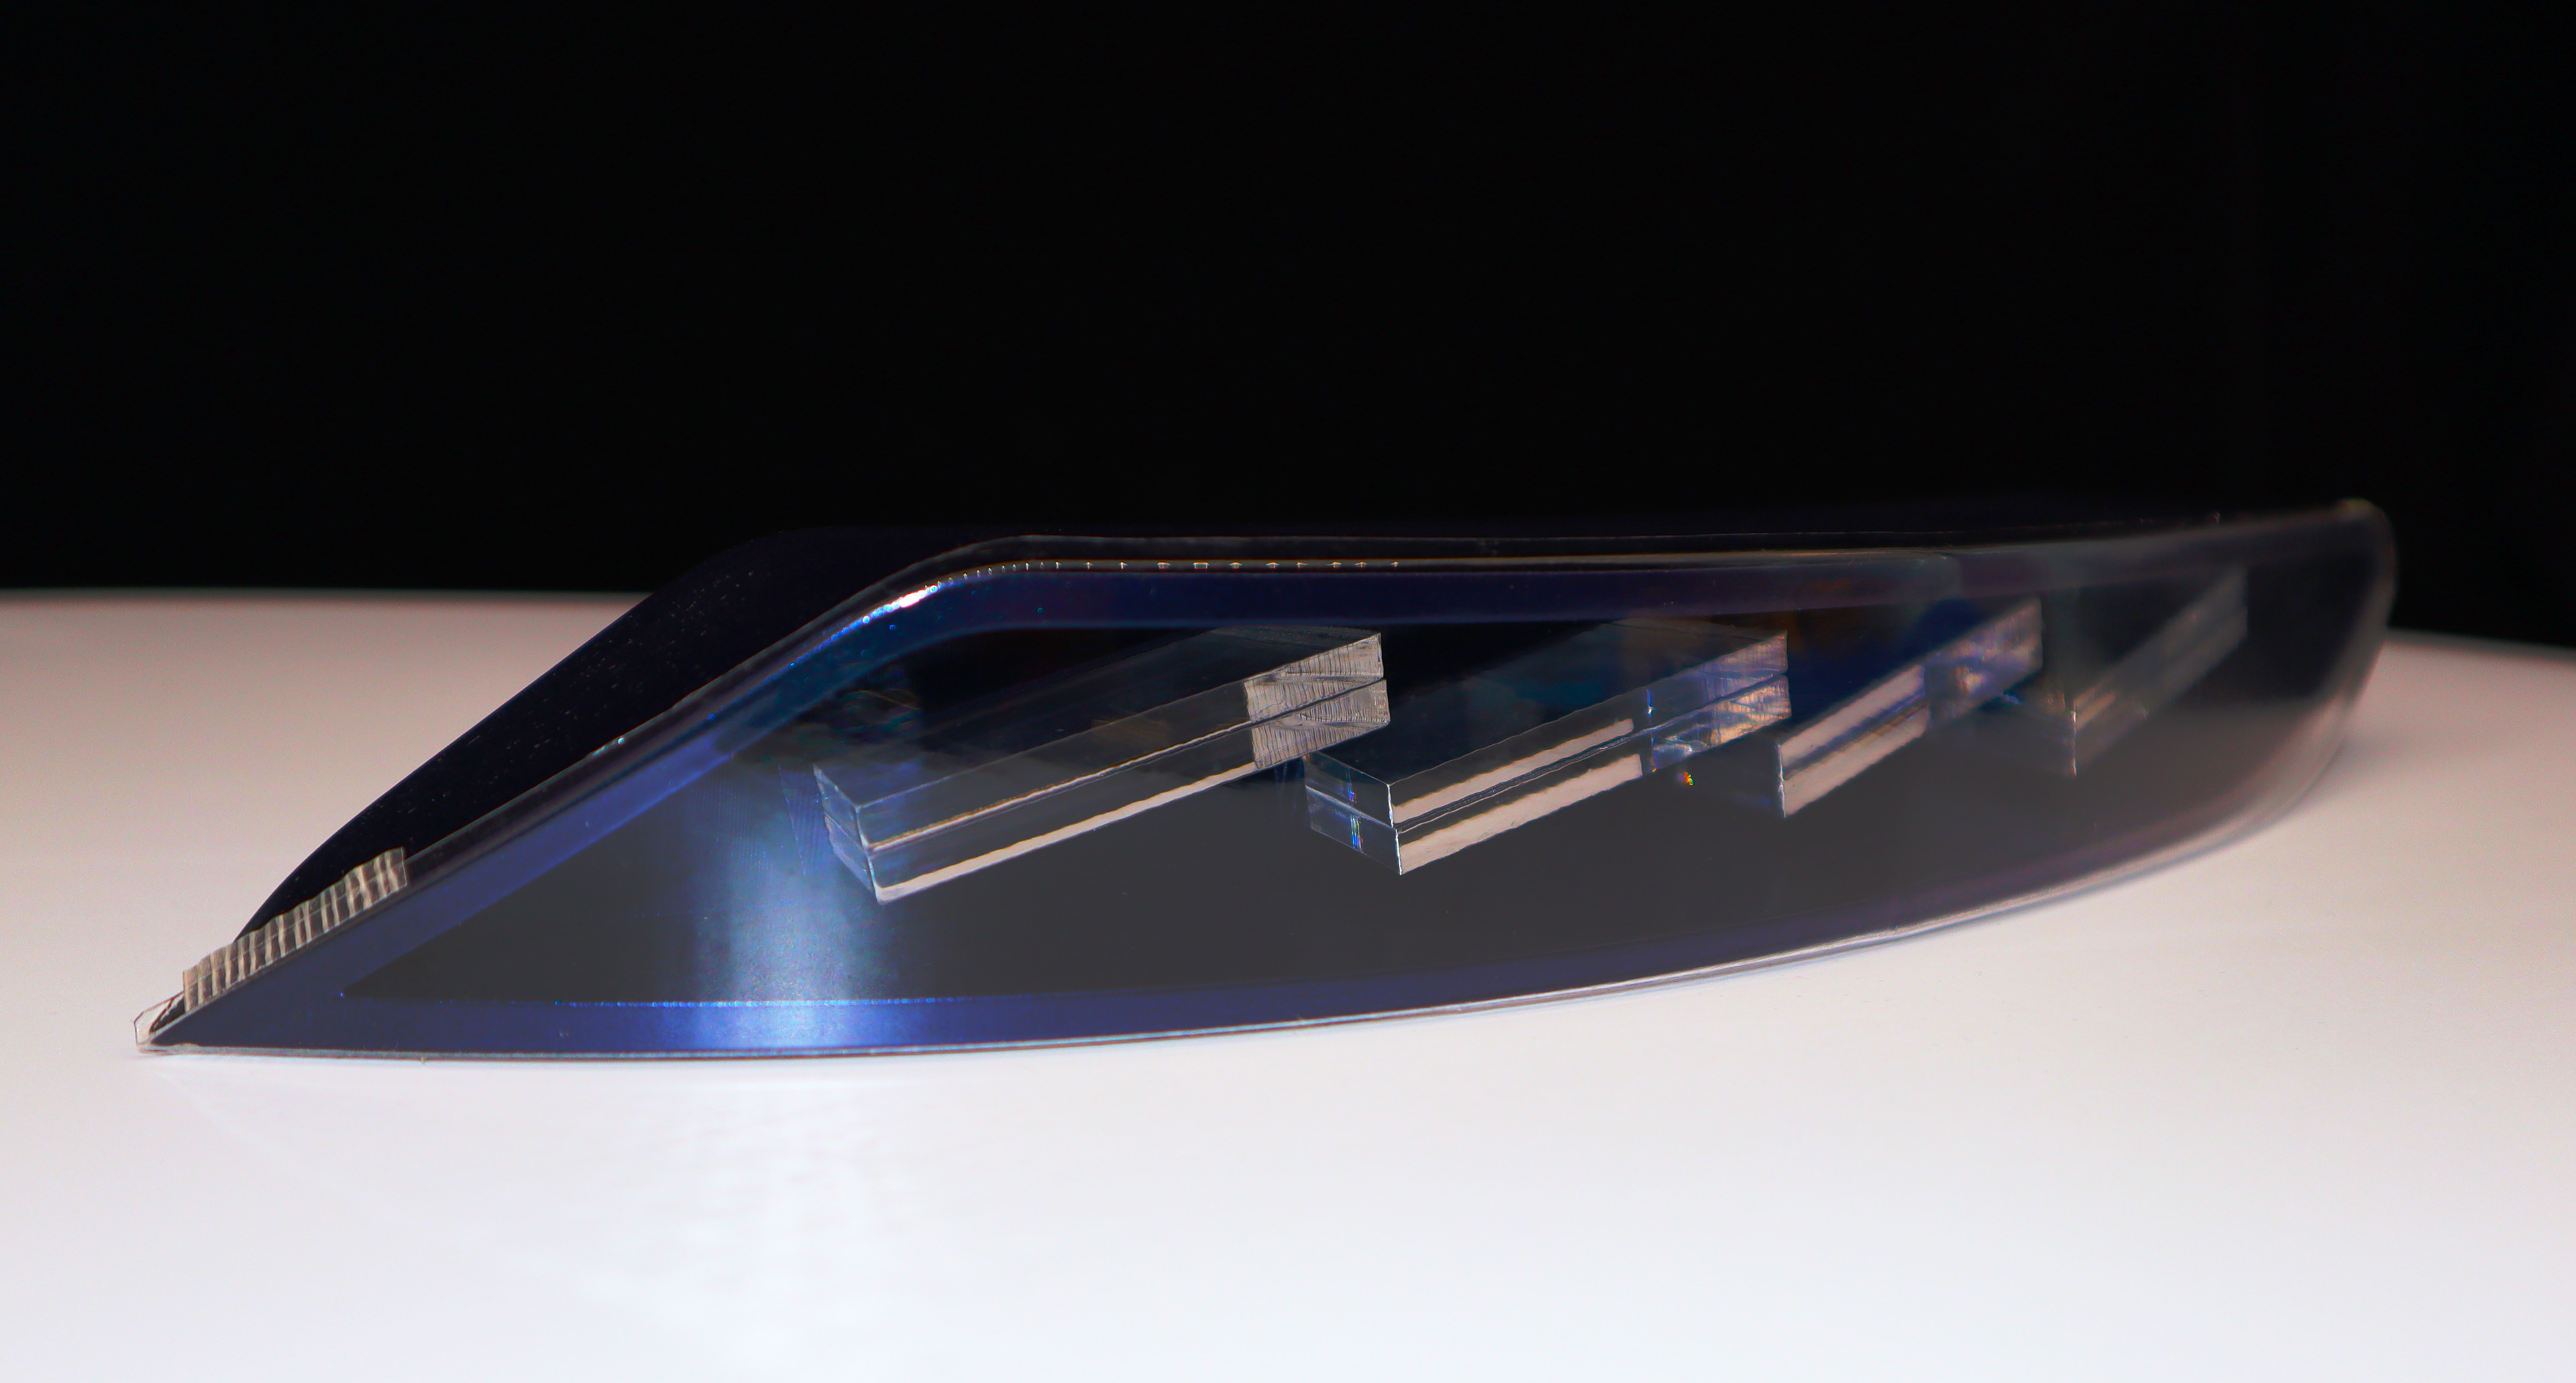
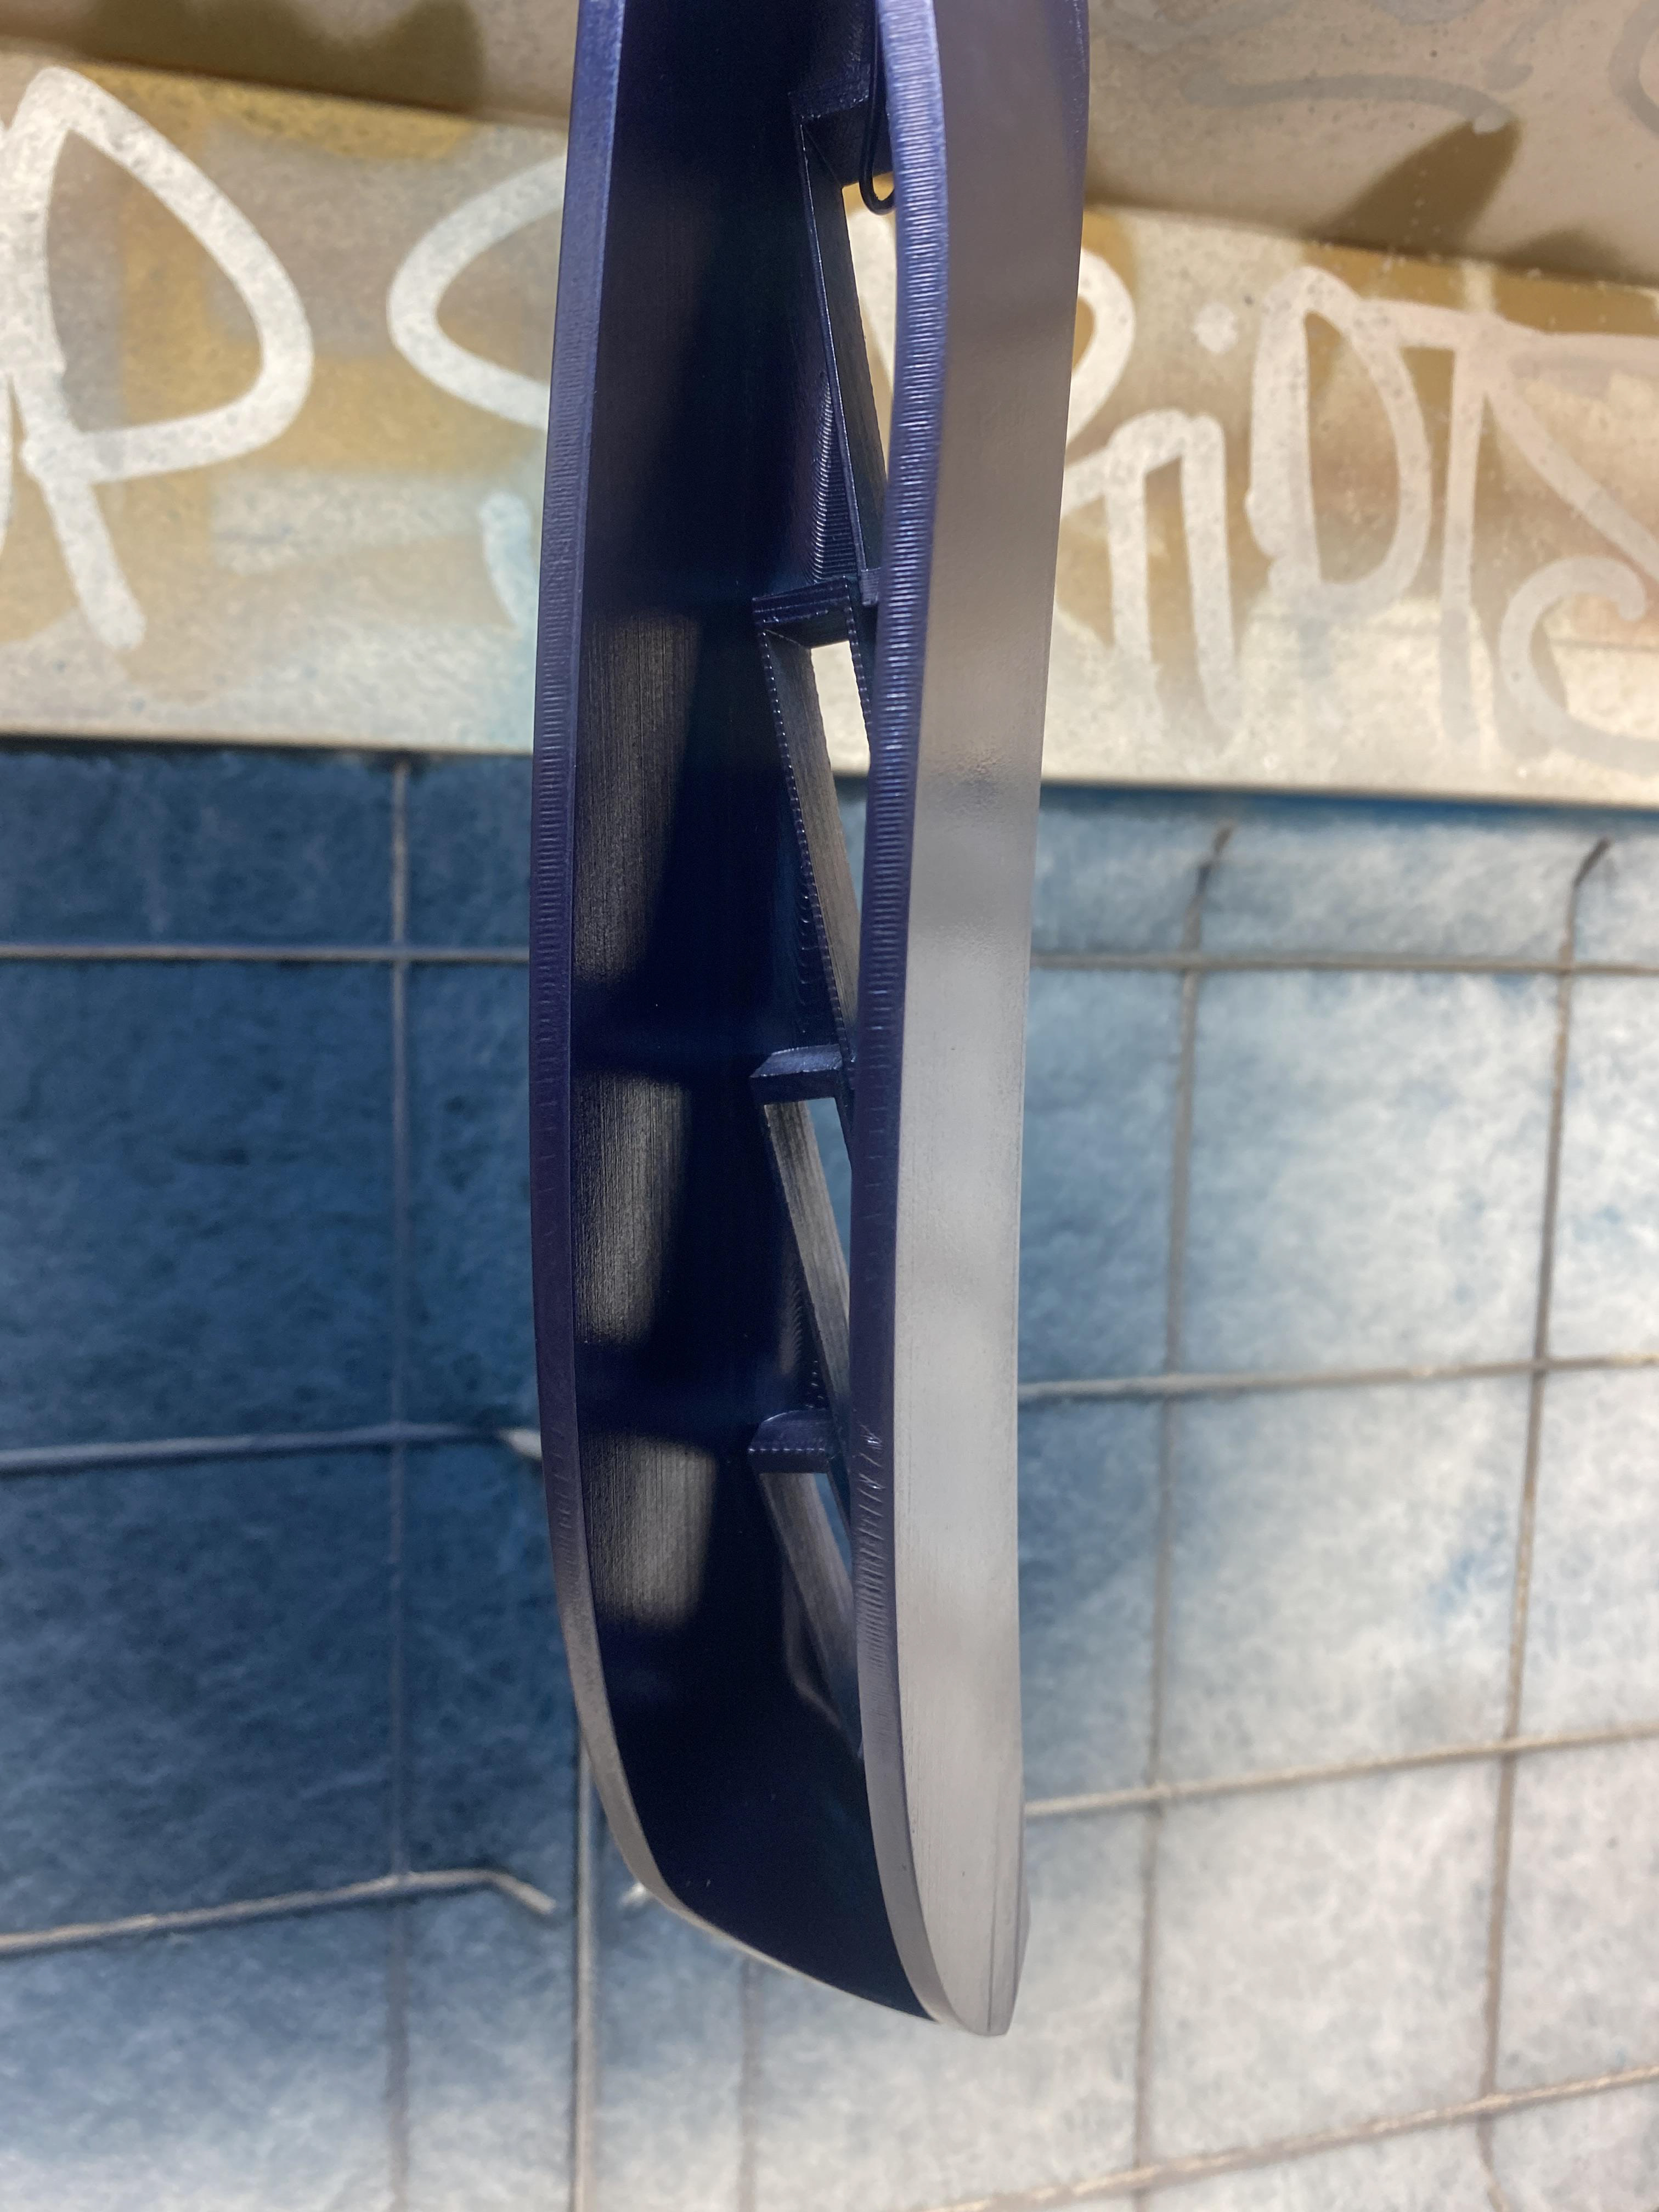
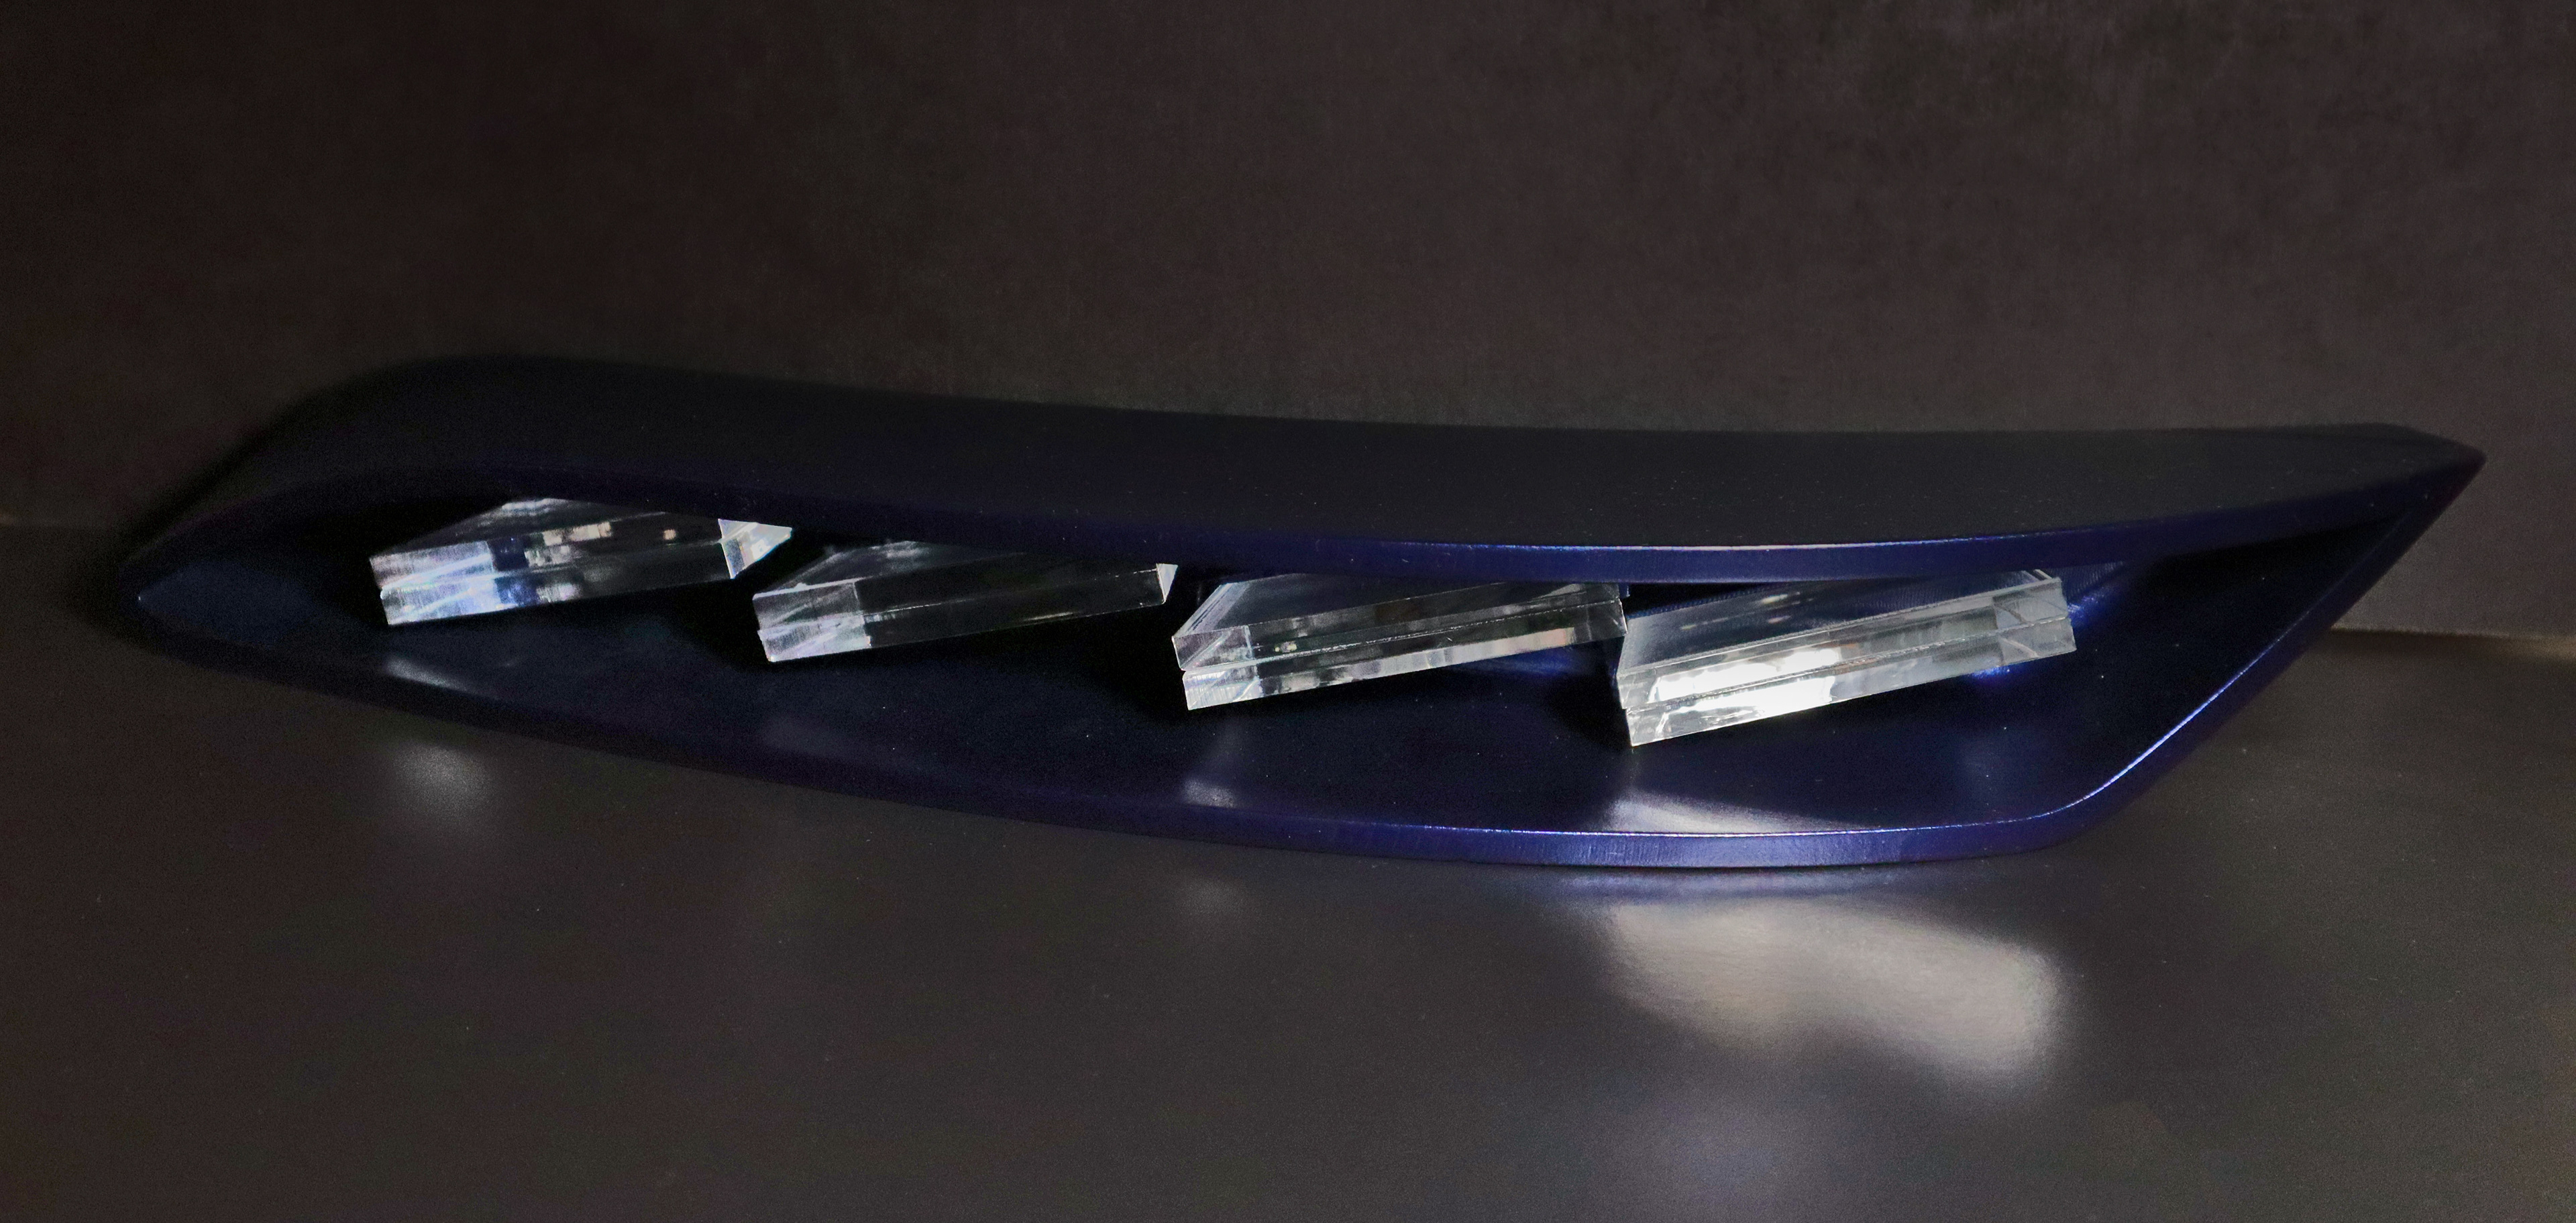
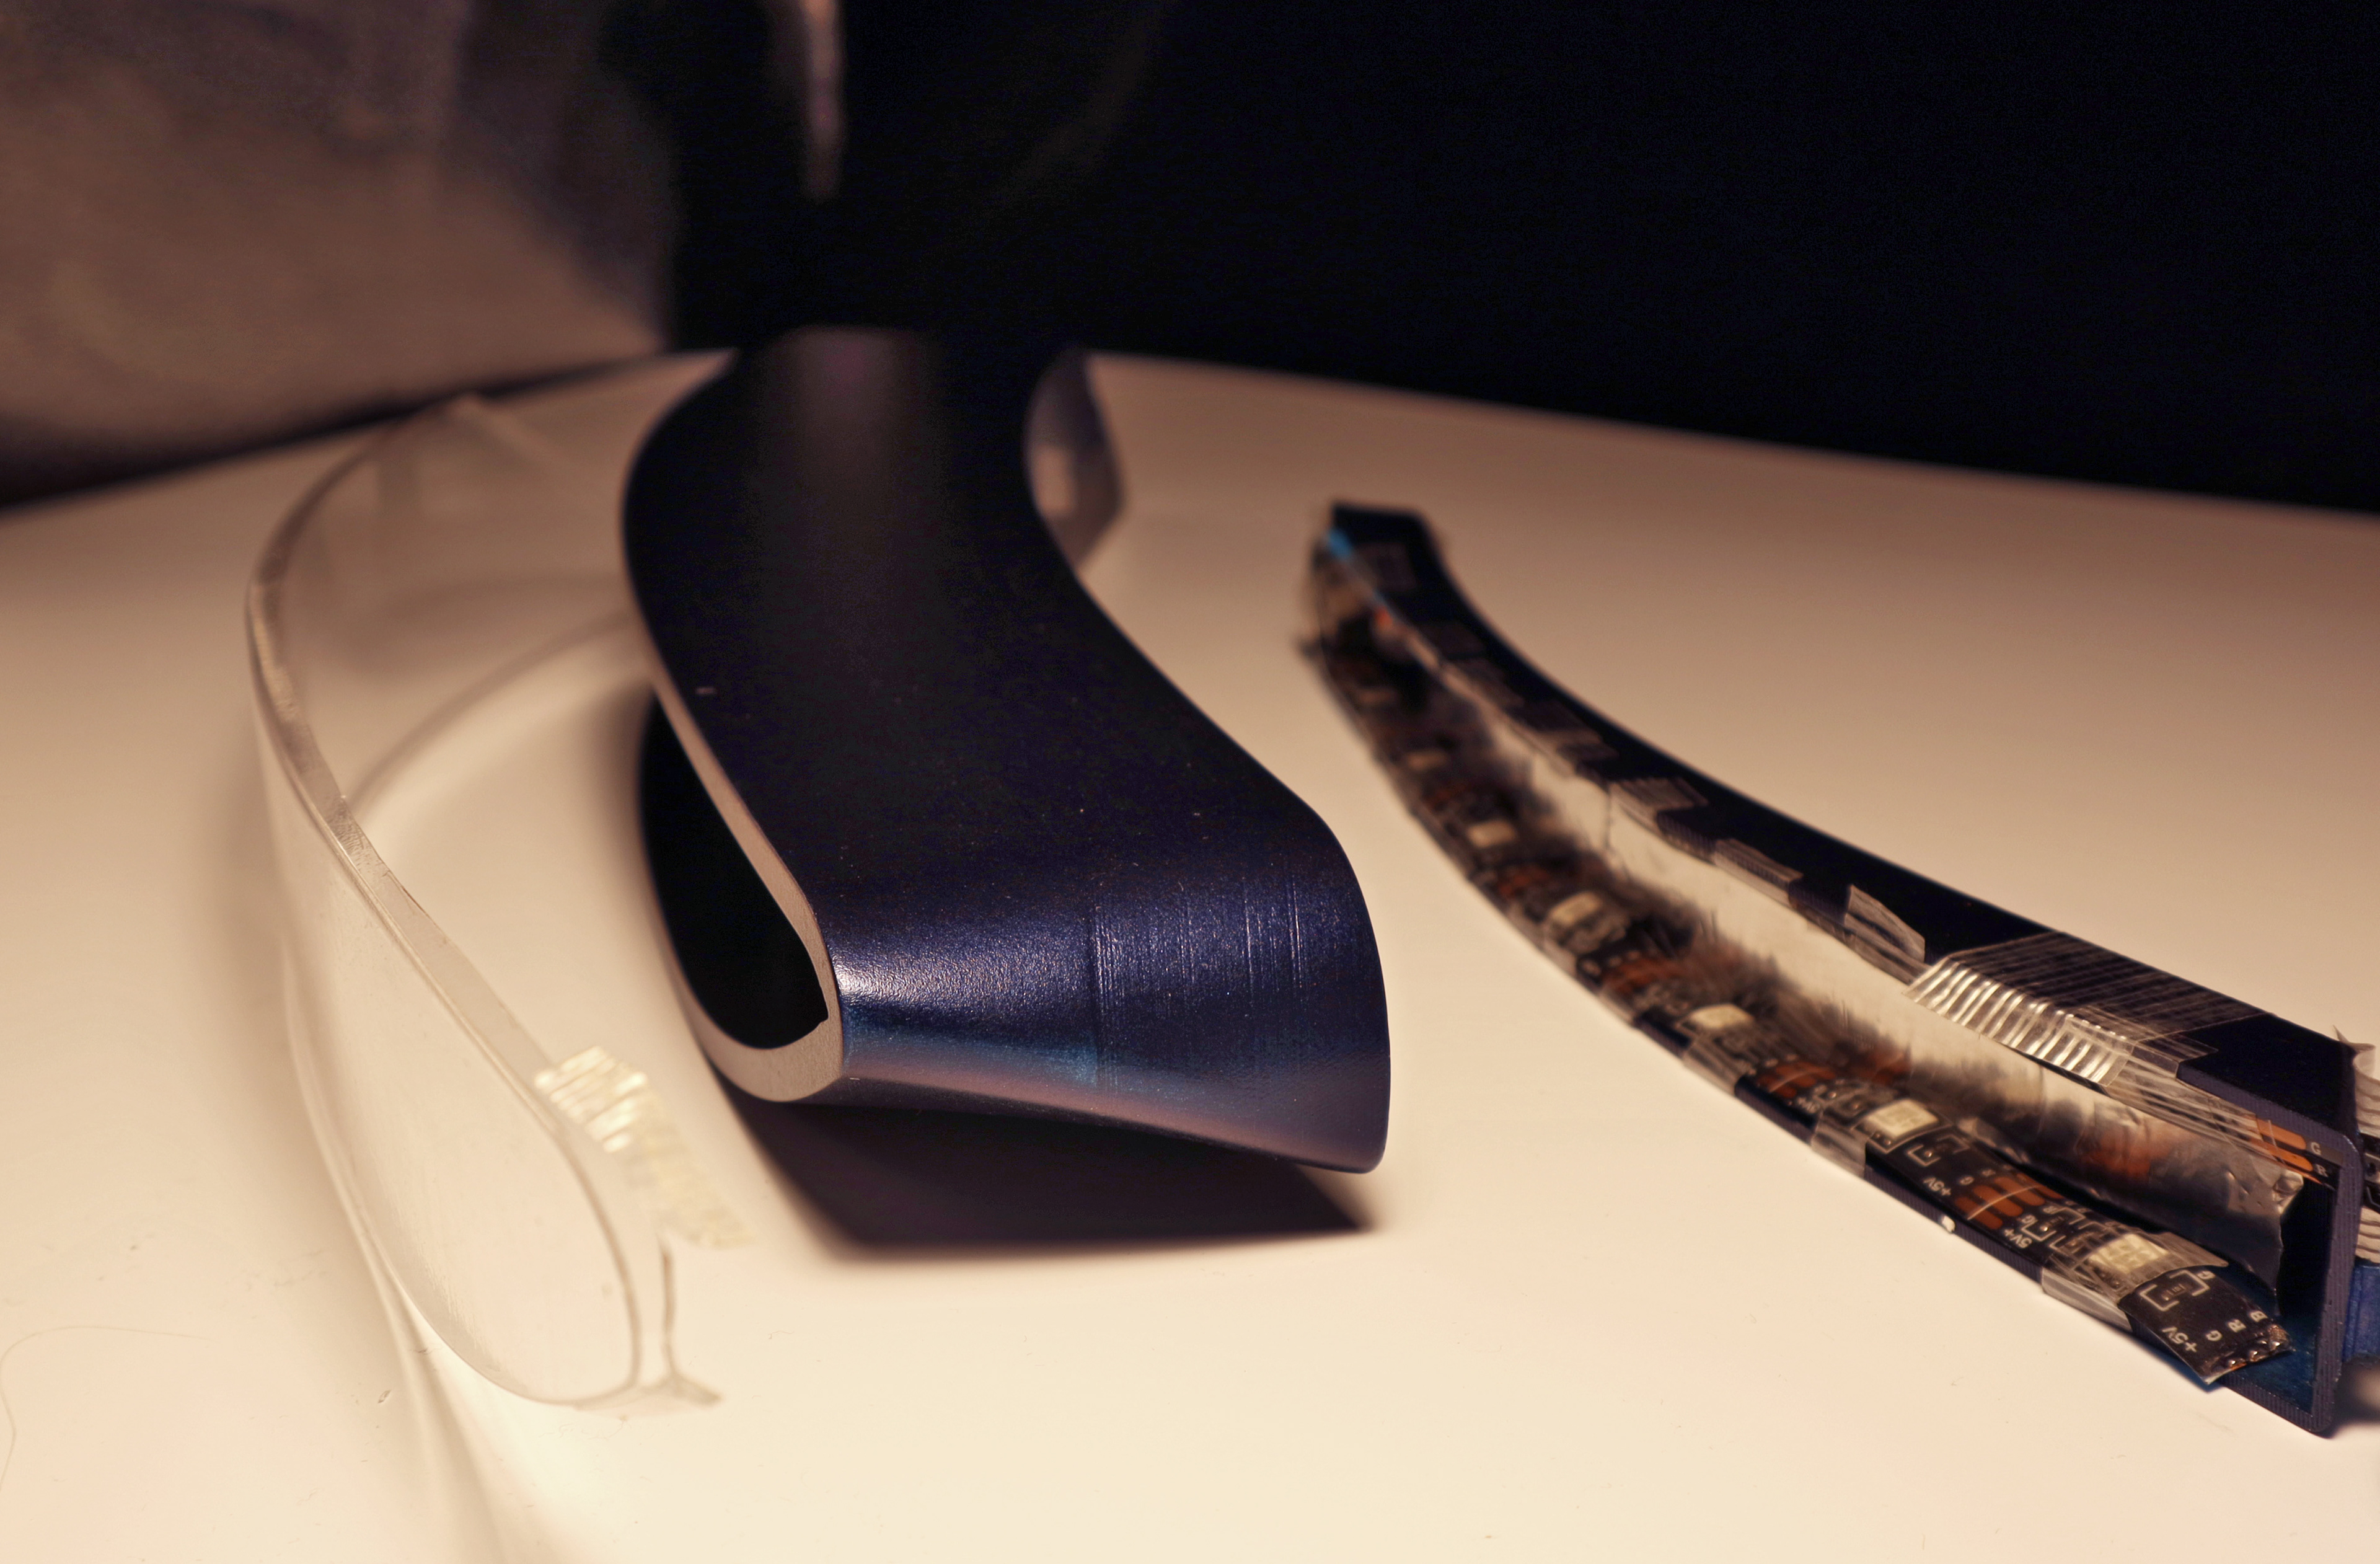
Fitting the acrylic panels onto the 3D model
Vacuum forming the Headlight Buck to get the lens for the 3D model.
Headlight Buck
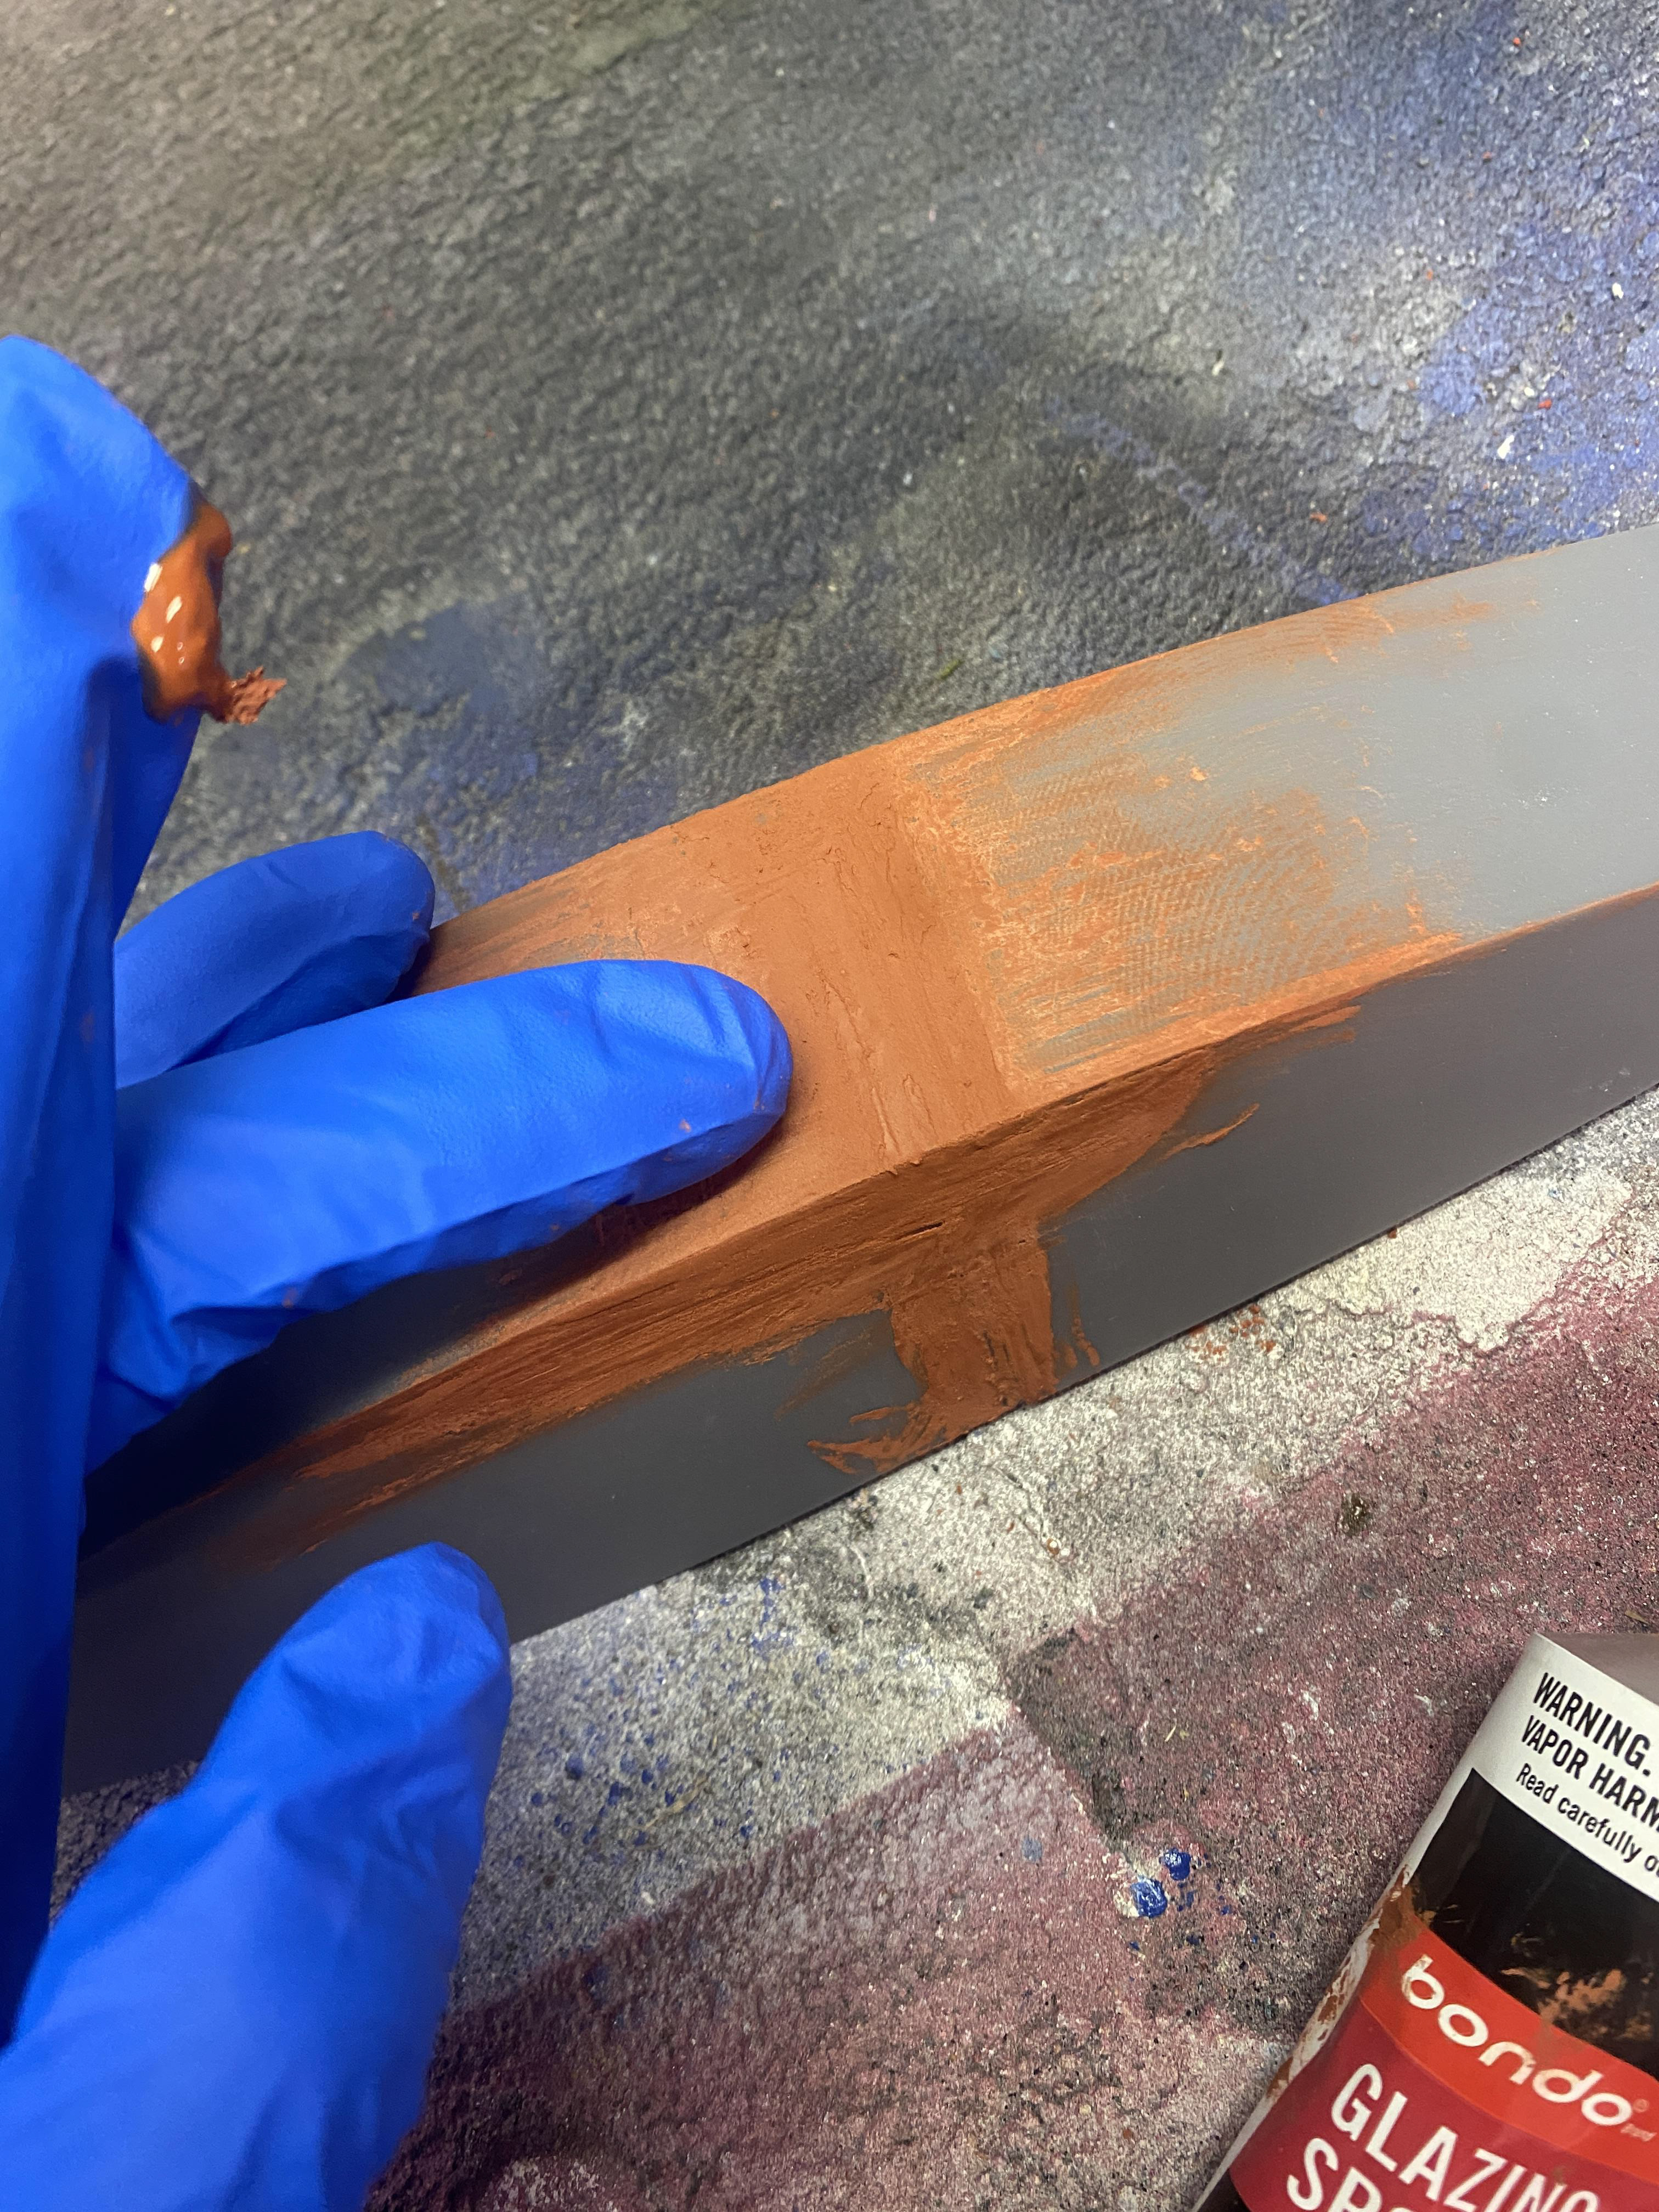
Adding bondo to the headlight Buck for Vacuum forming
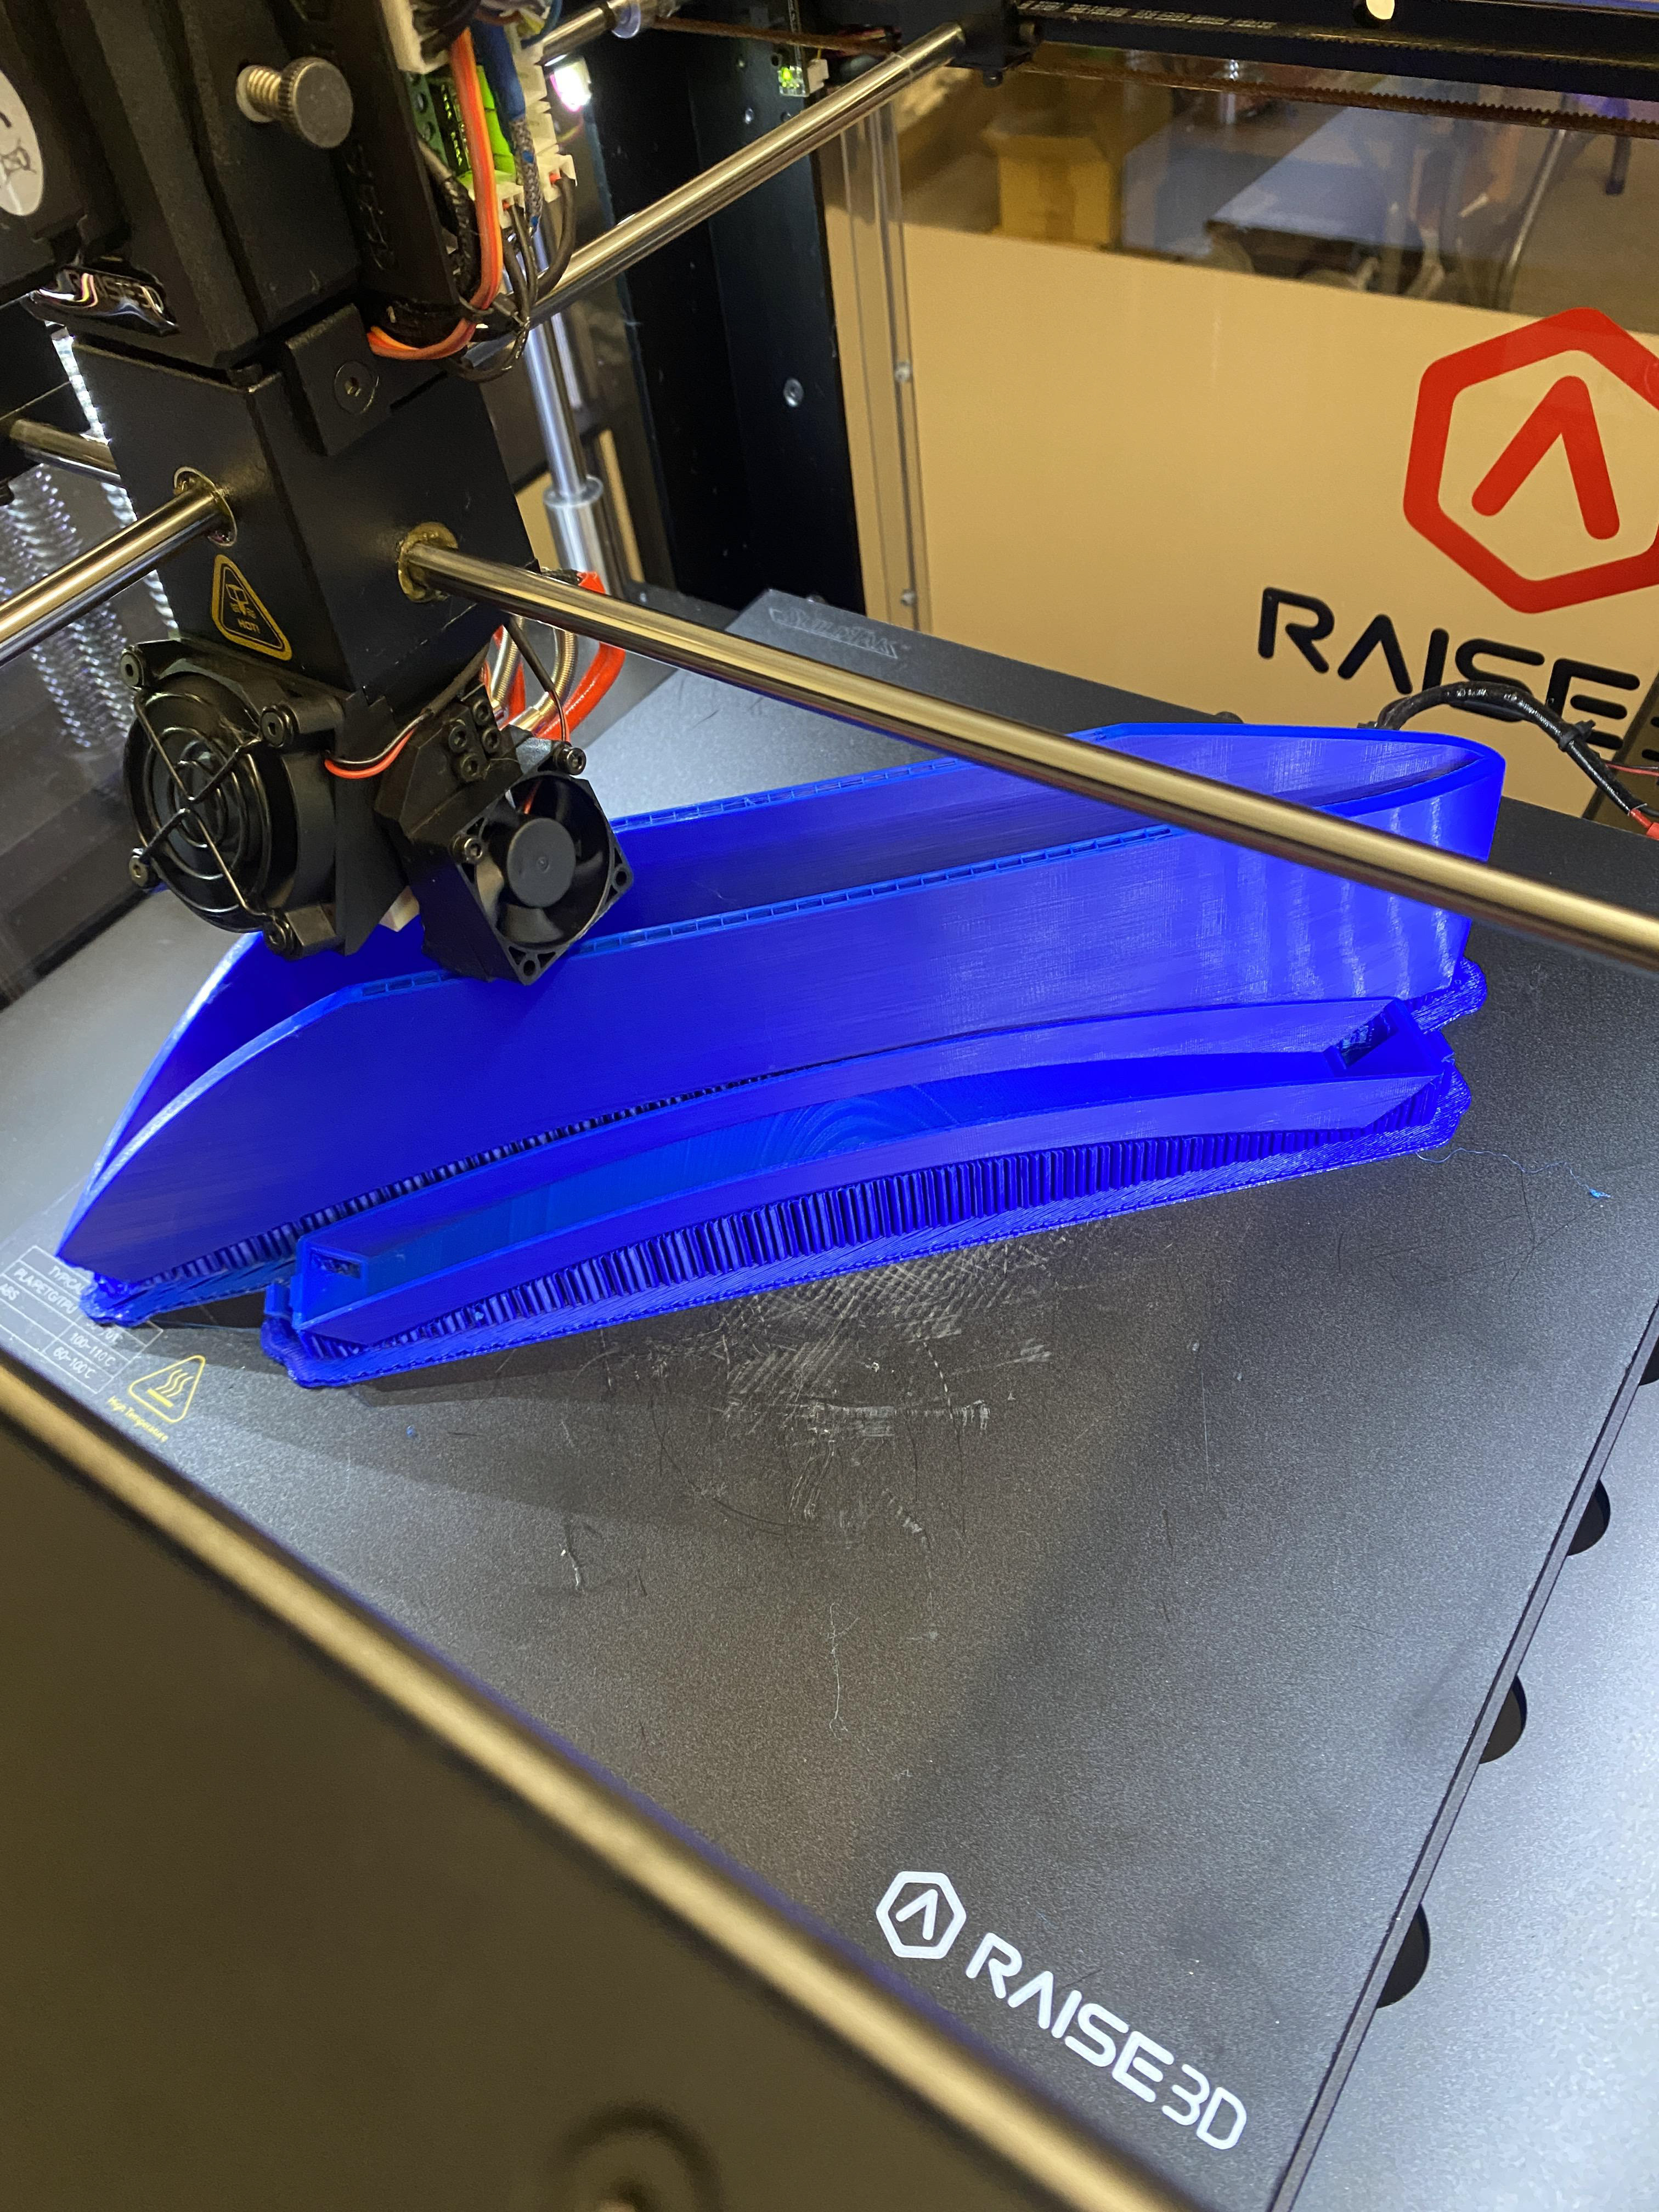
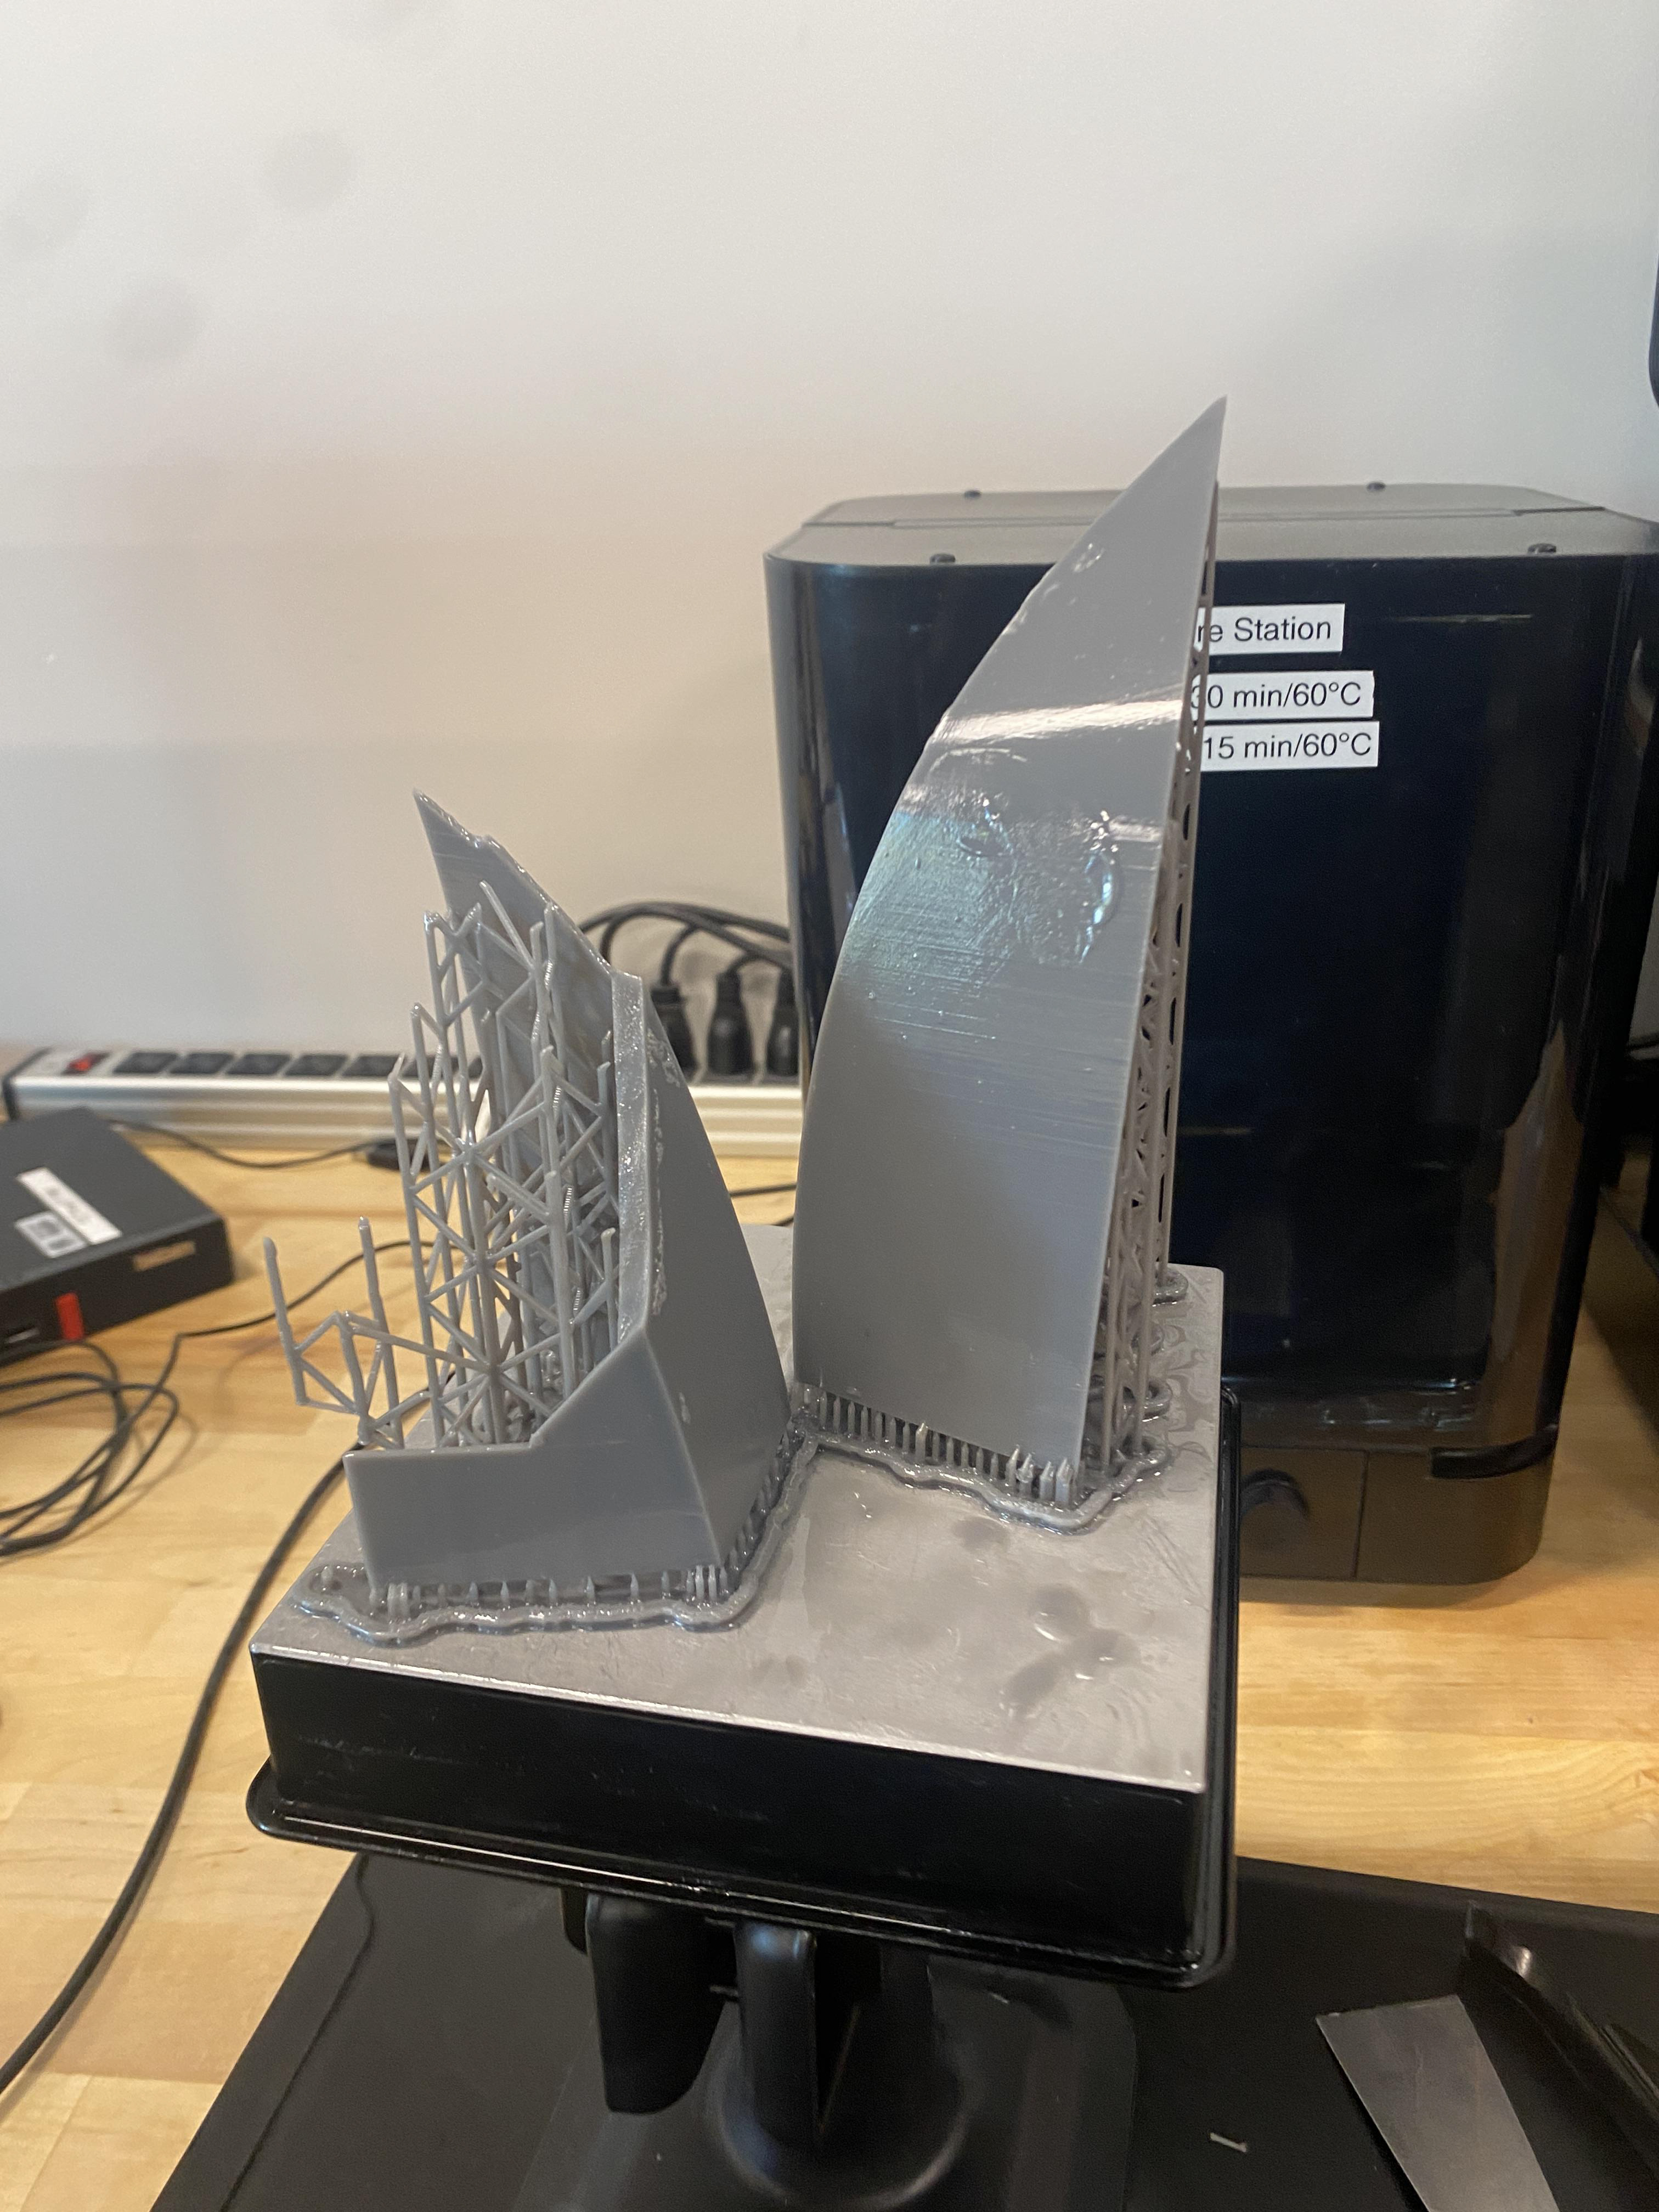
3D model printing
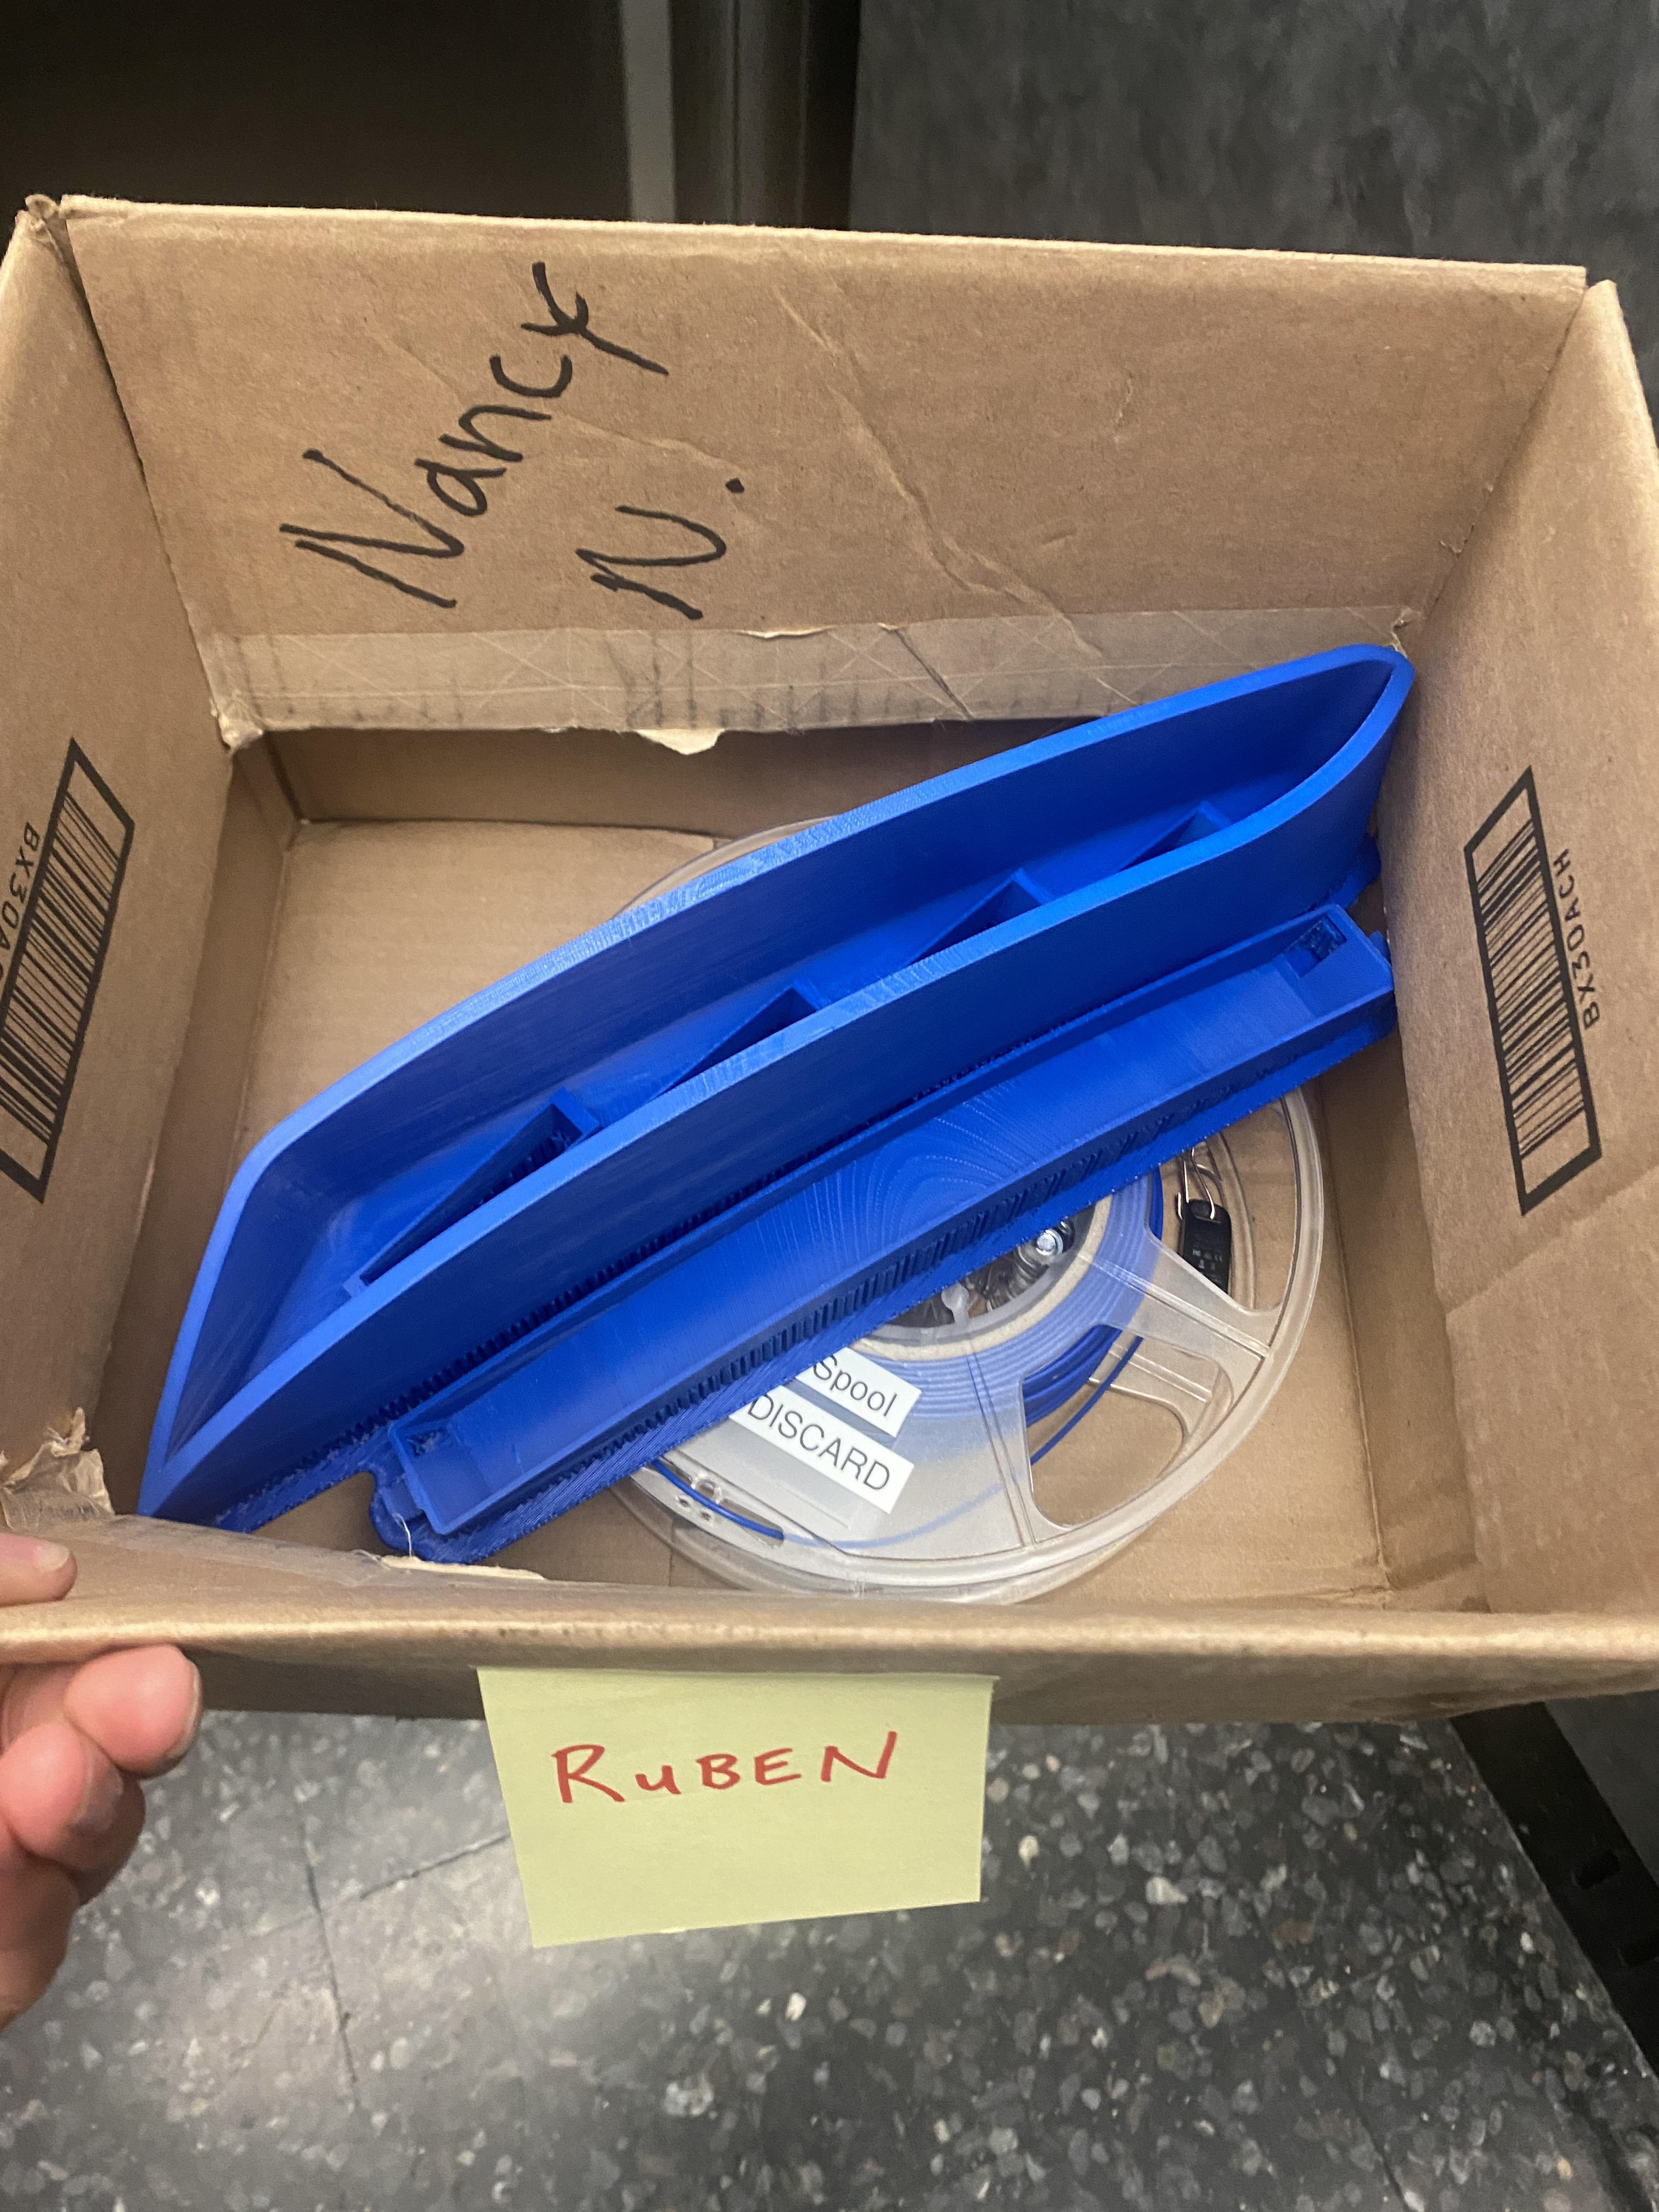
After 56 hours its done!

Primer and paint
The shine
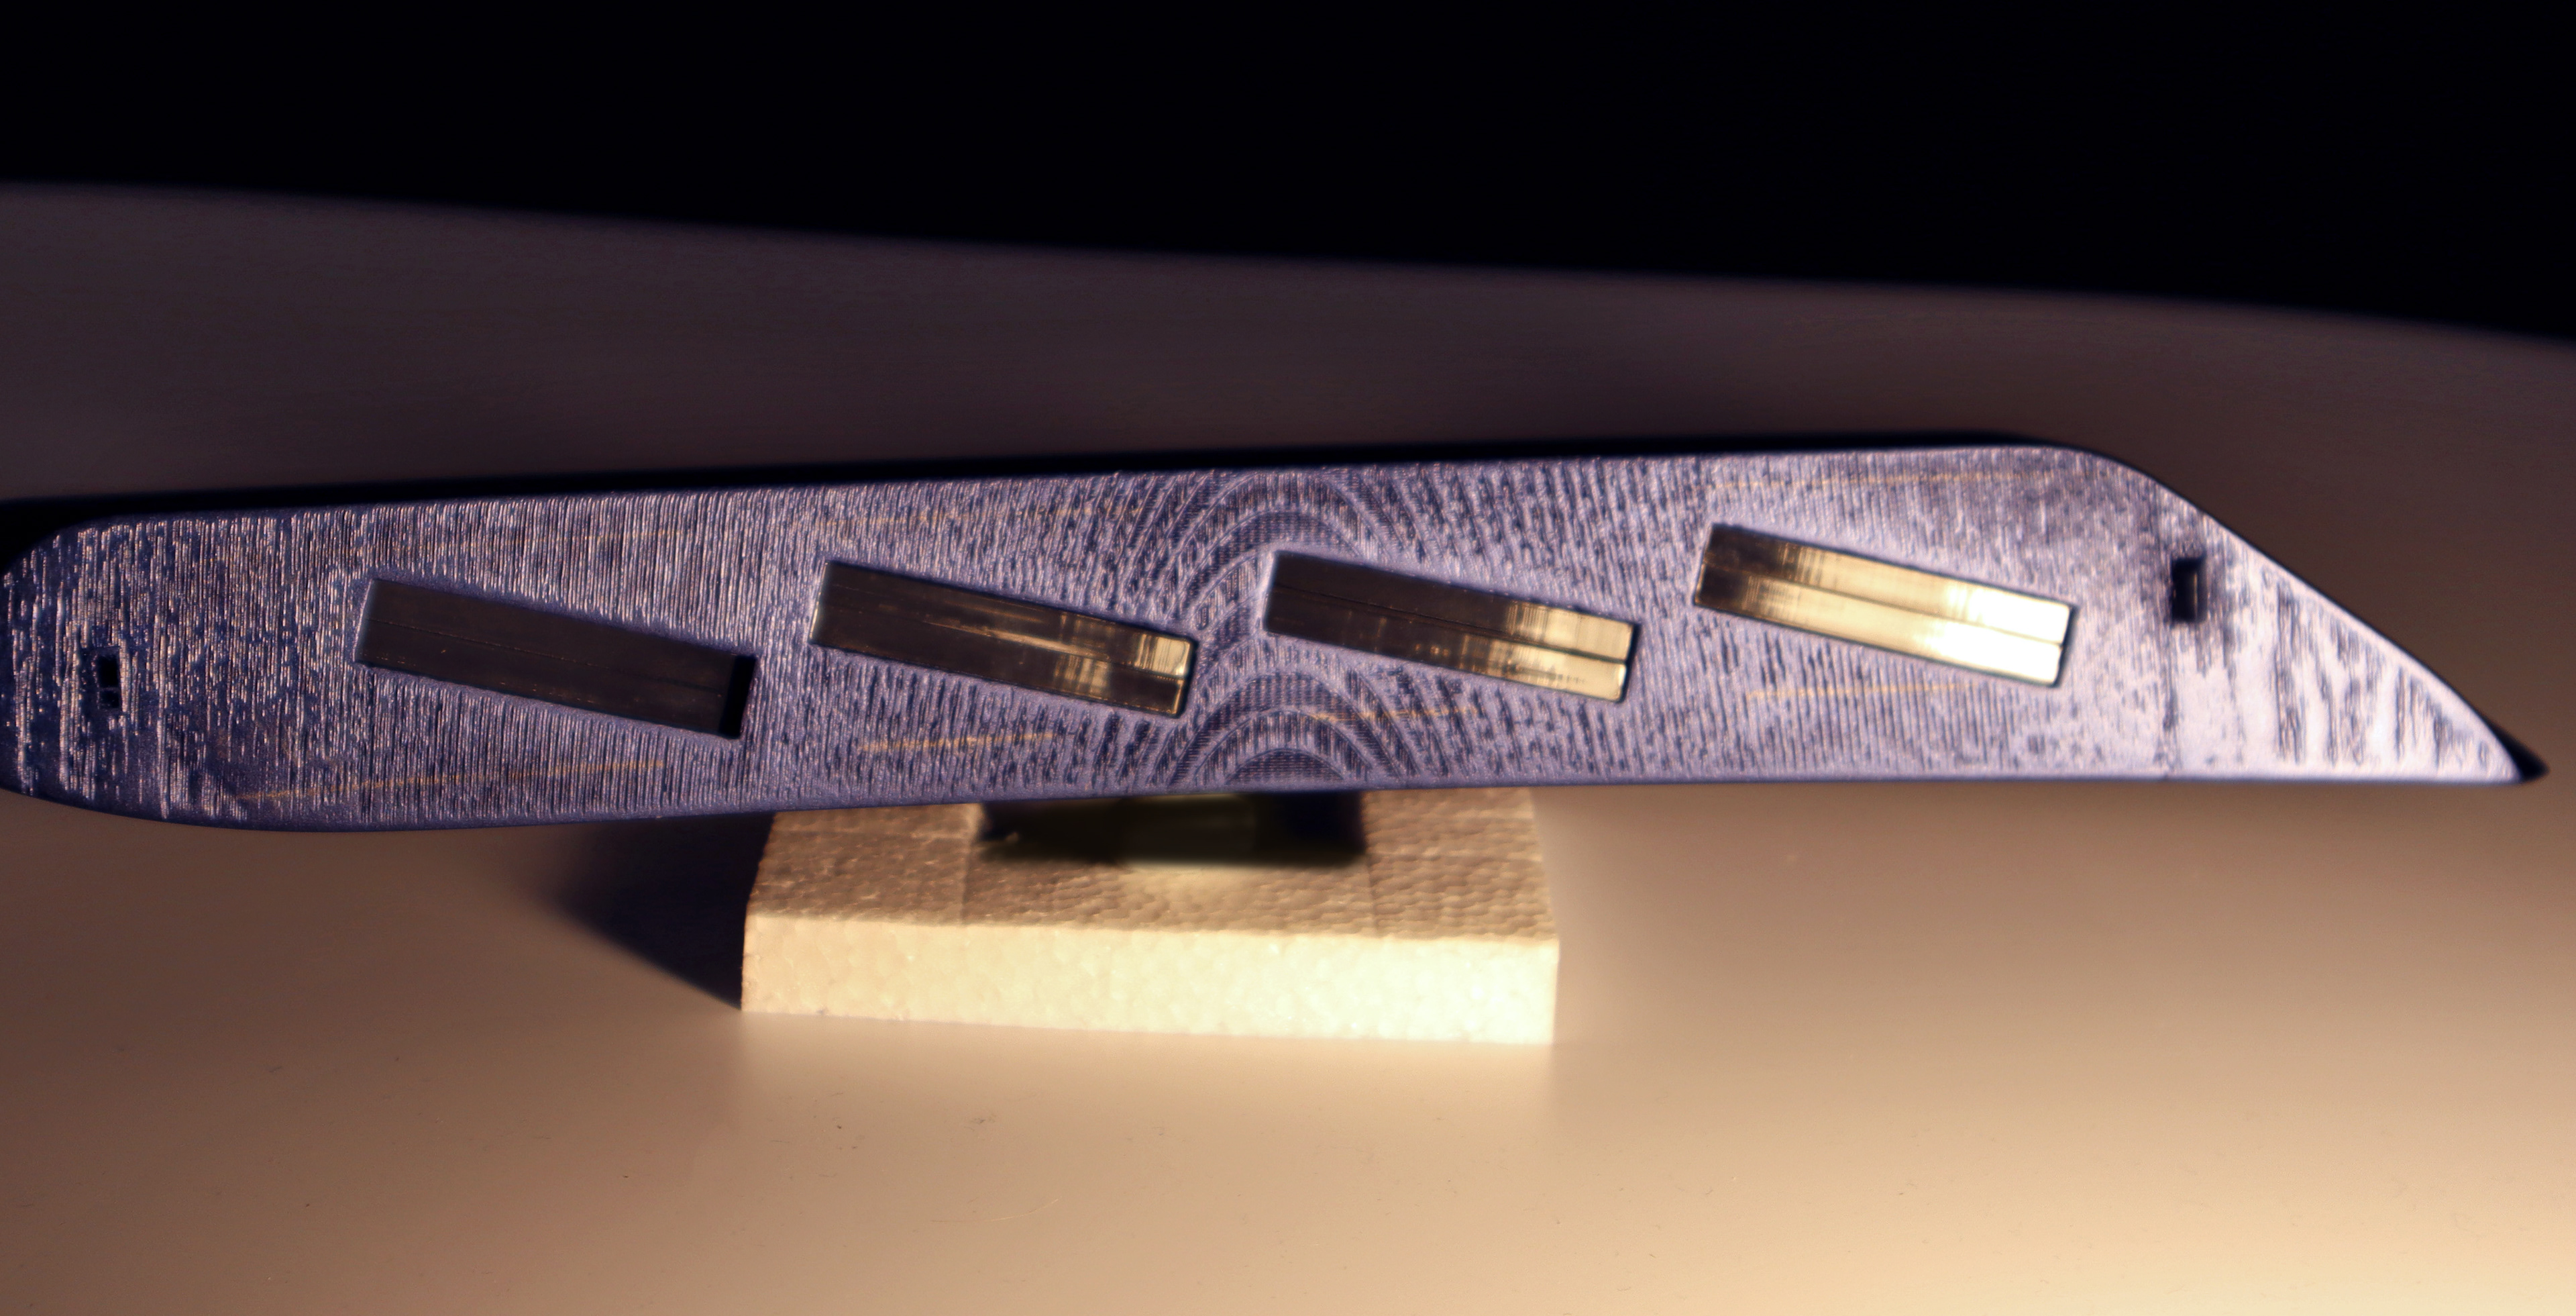
This is the final product, shown from several different angles and colors. From assembly, to glowing amber lenses, you can see the great angles and colors of this headlight design.
Painted in Dark Blue Pearl automotive paint
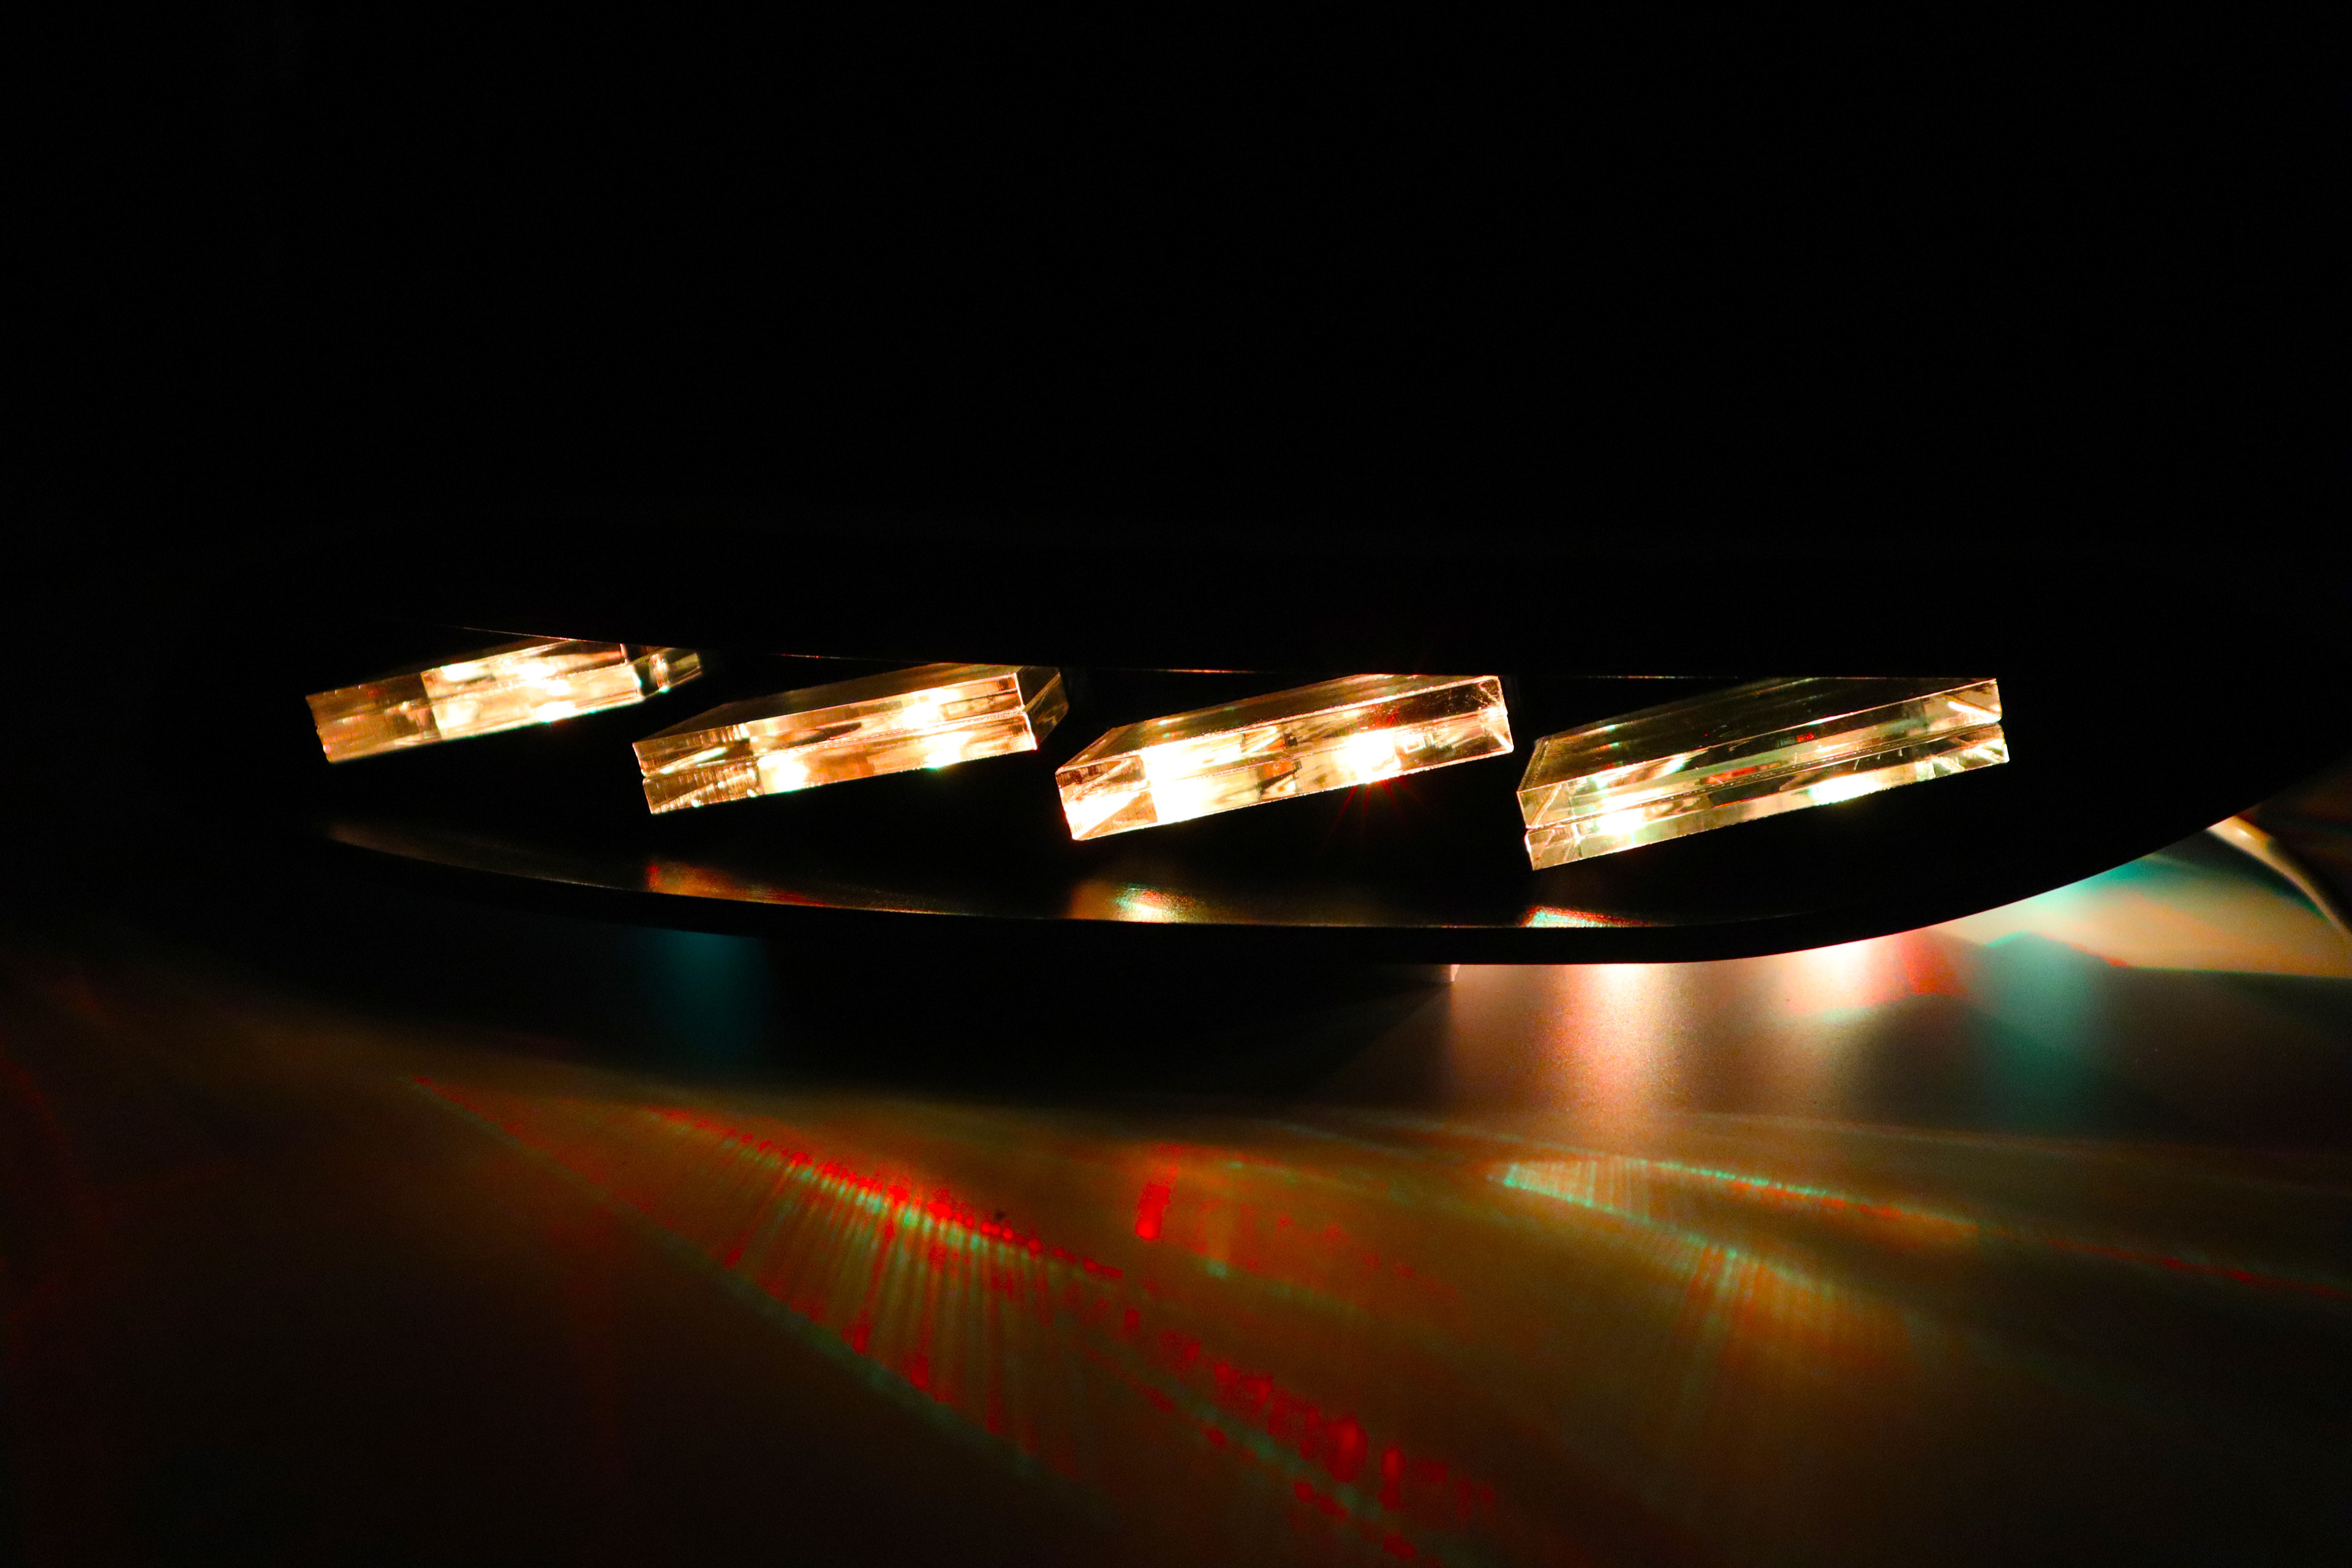
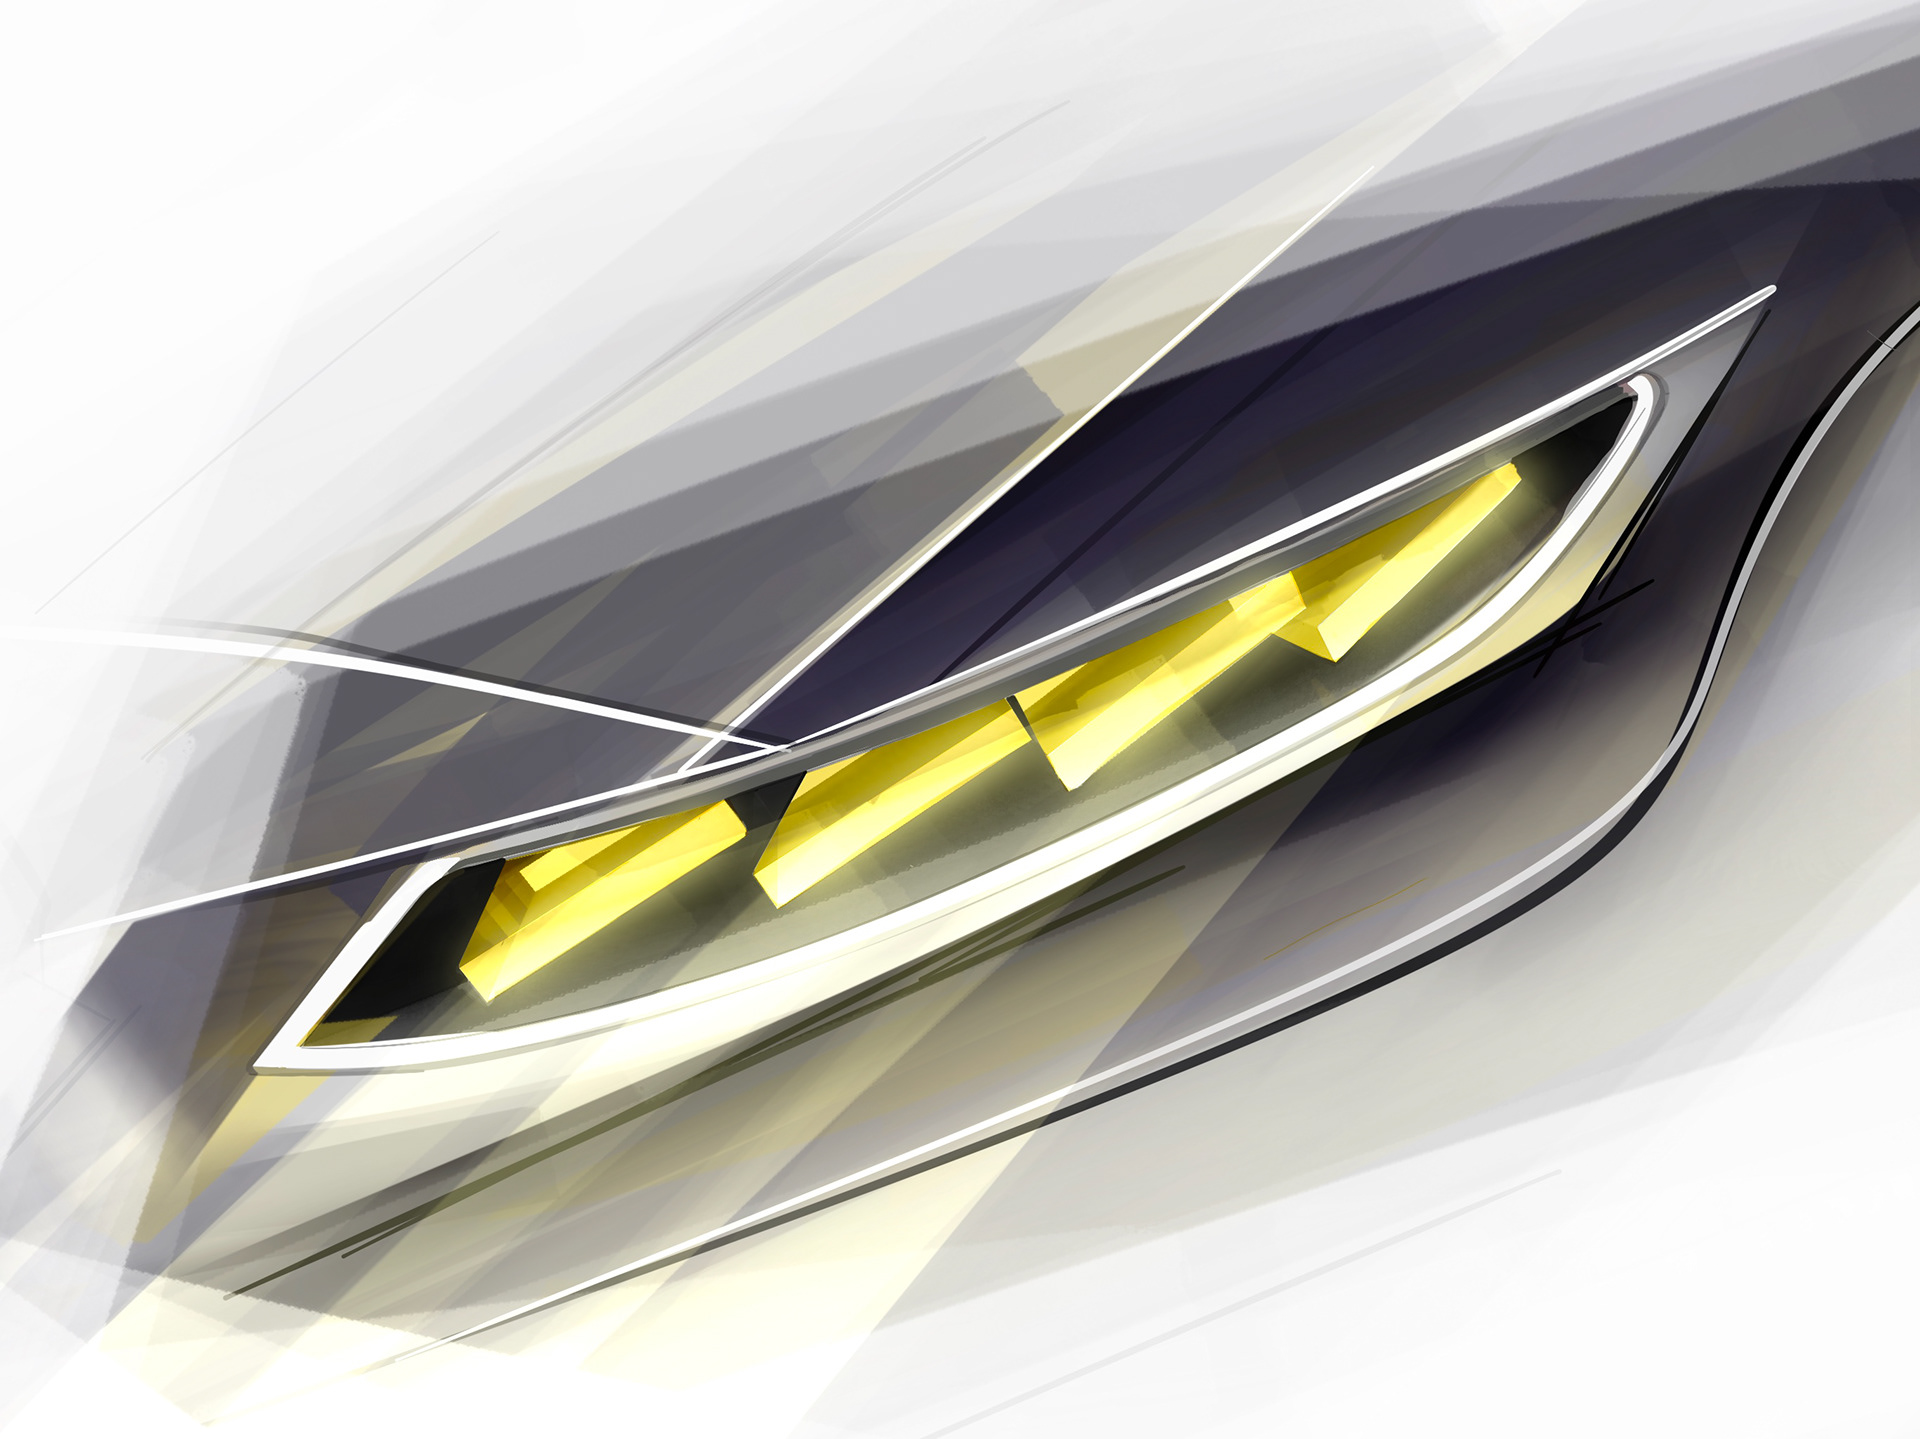
Ambers
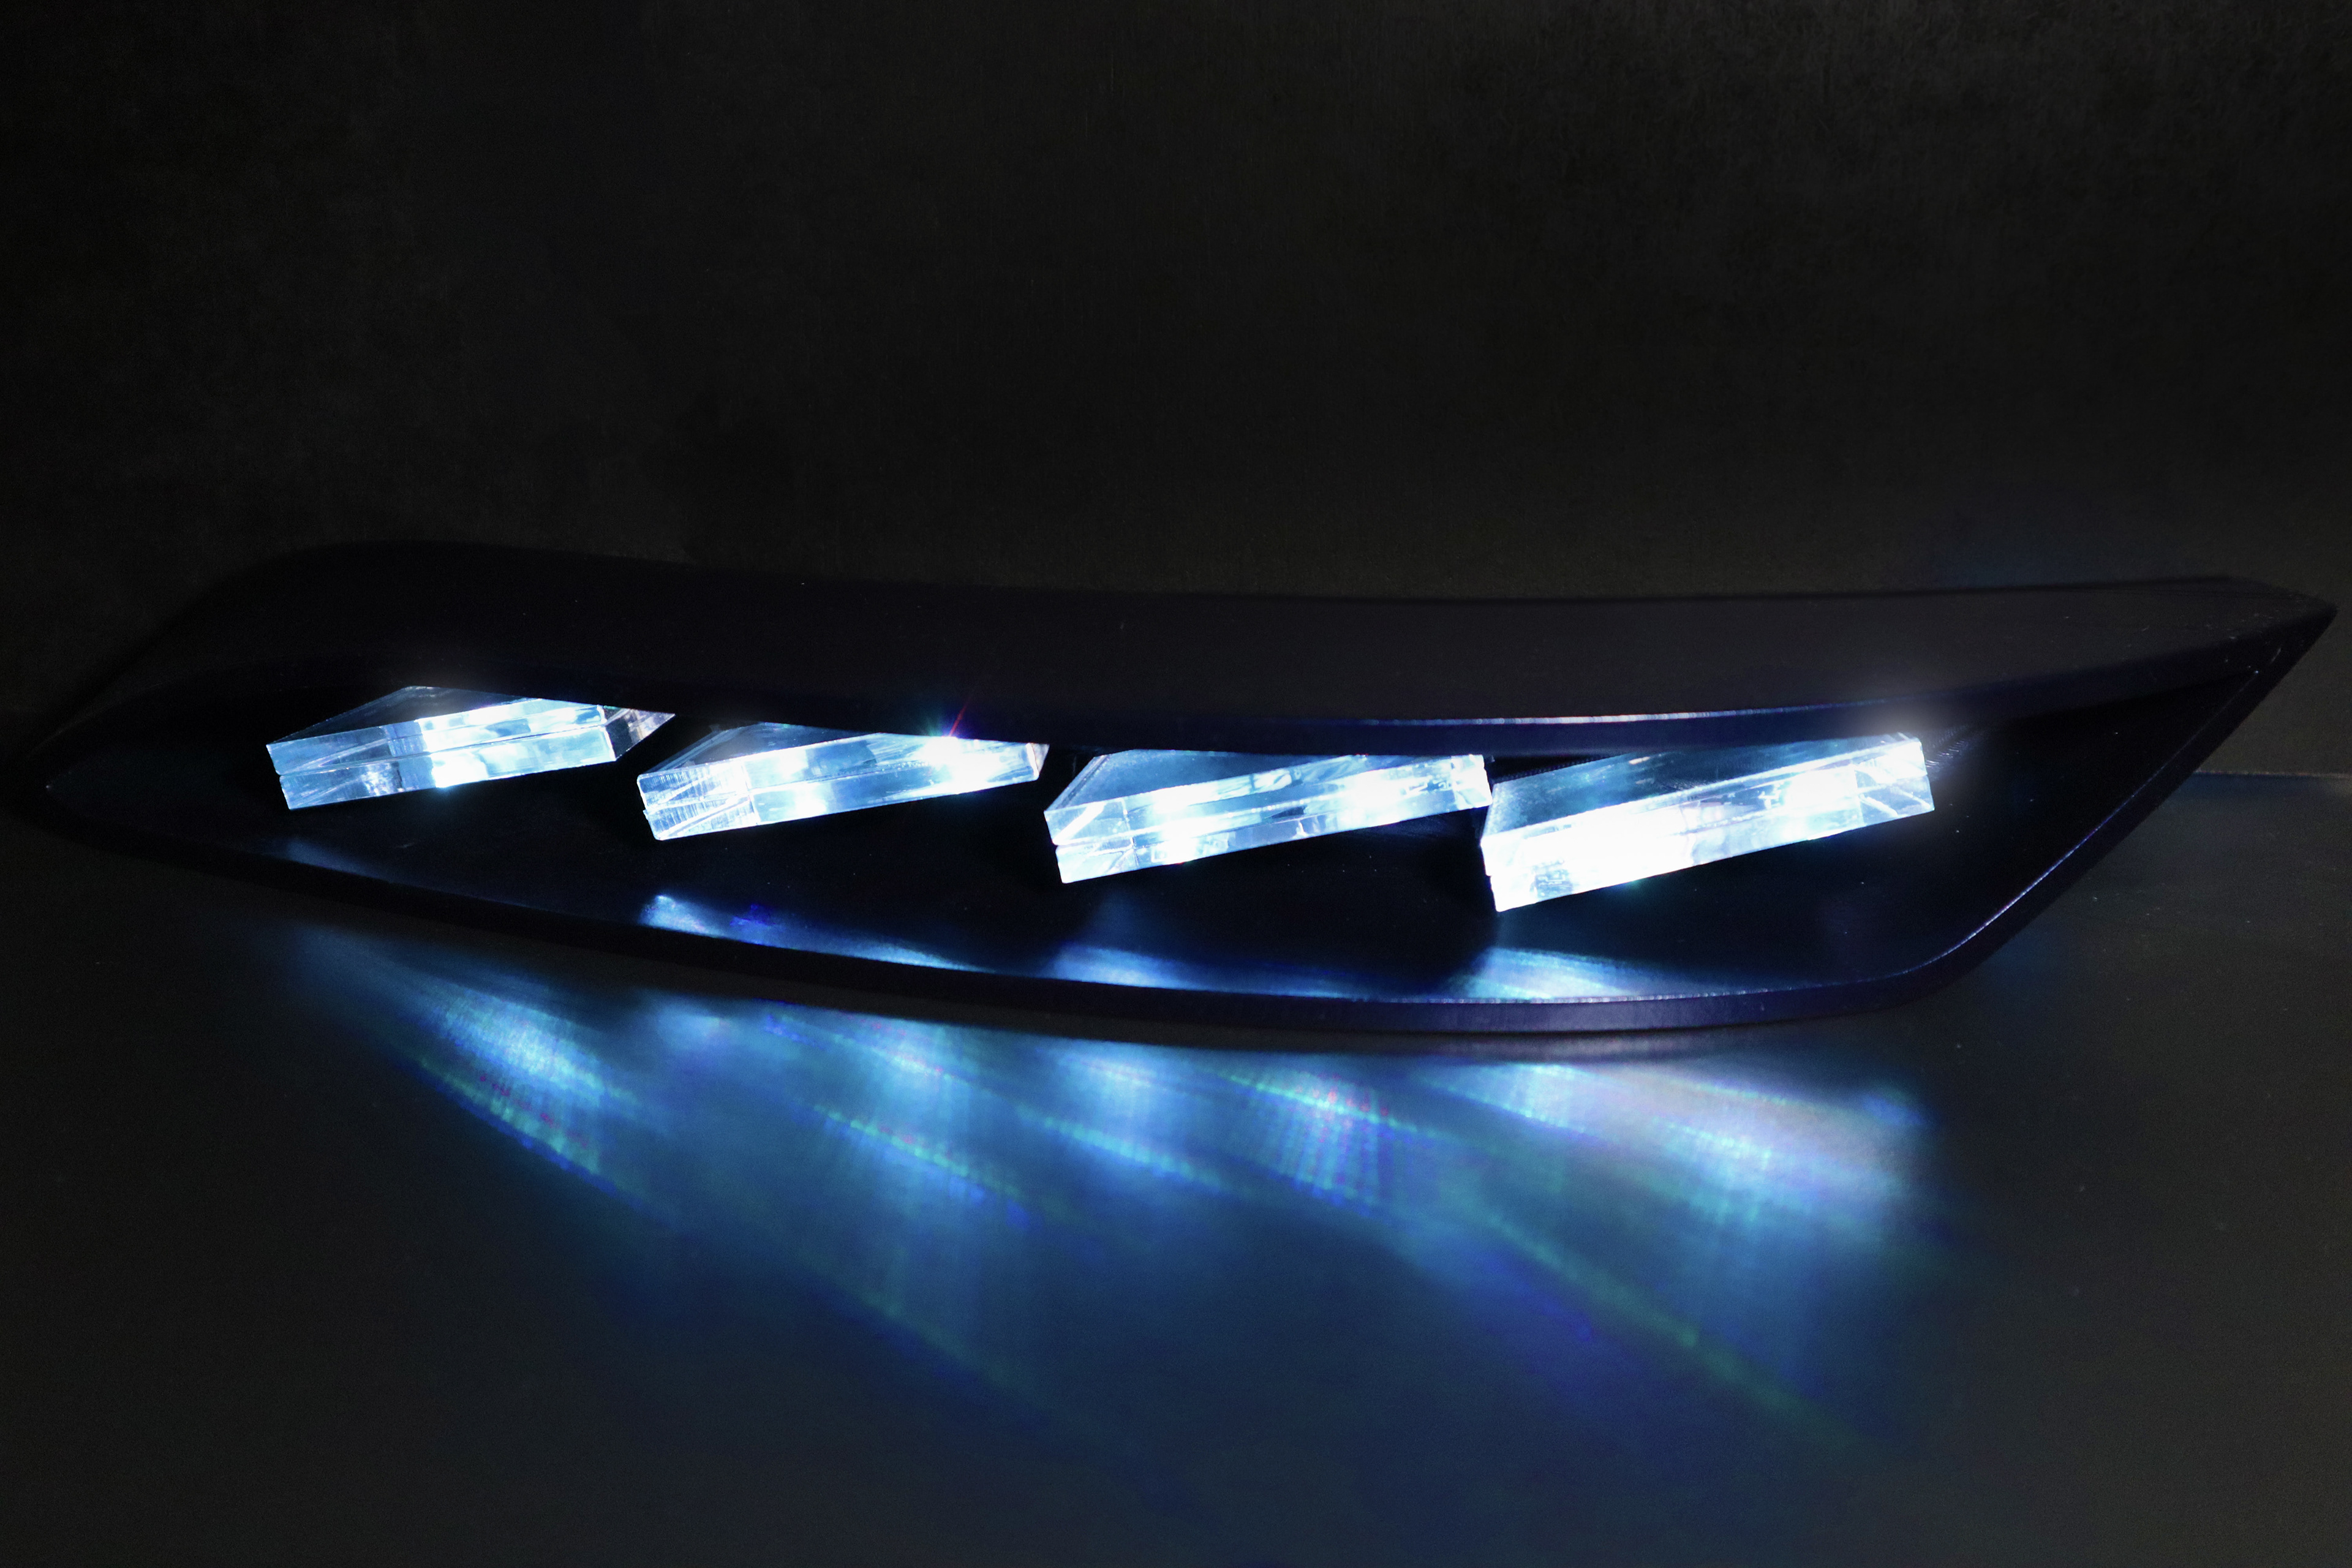
Daytime running lights
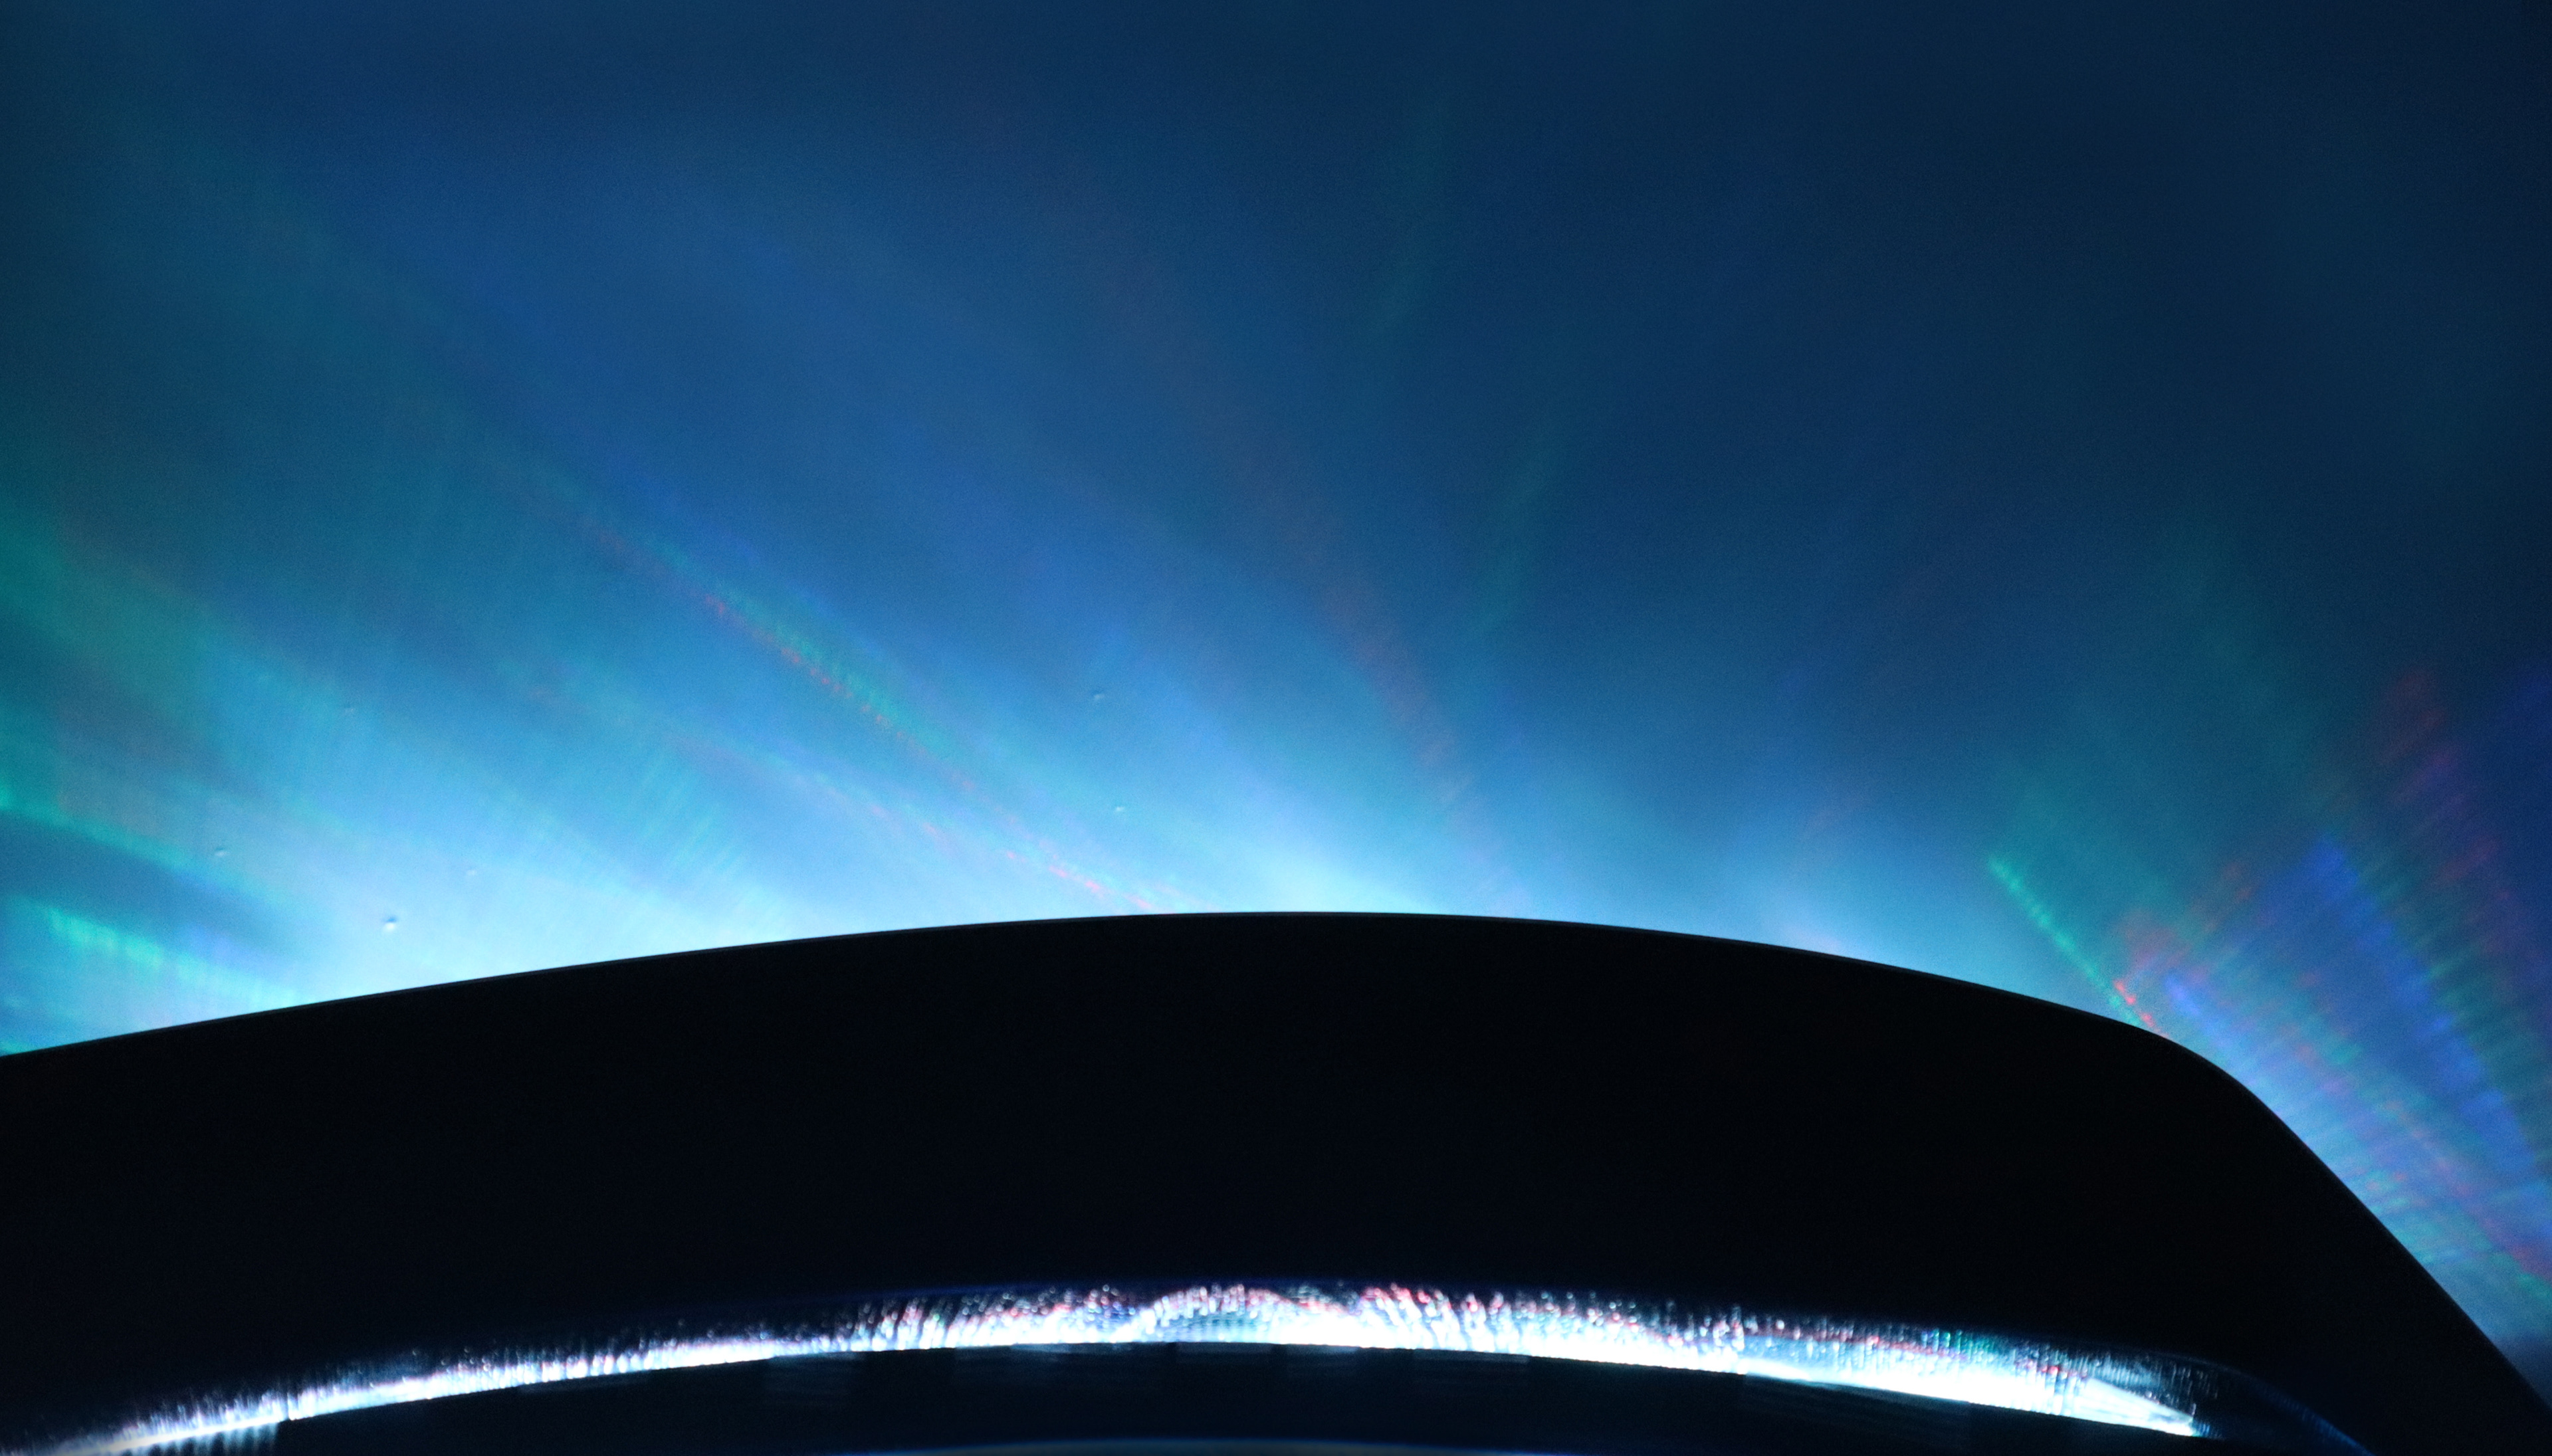
The array of colors through the headlights from above
Rear of headlight
3 piece assembly
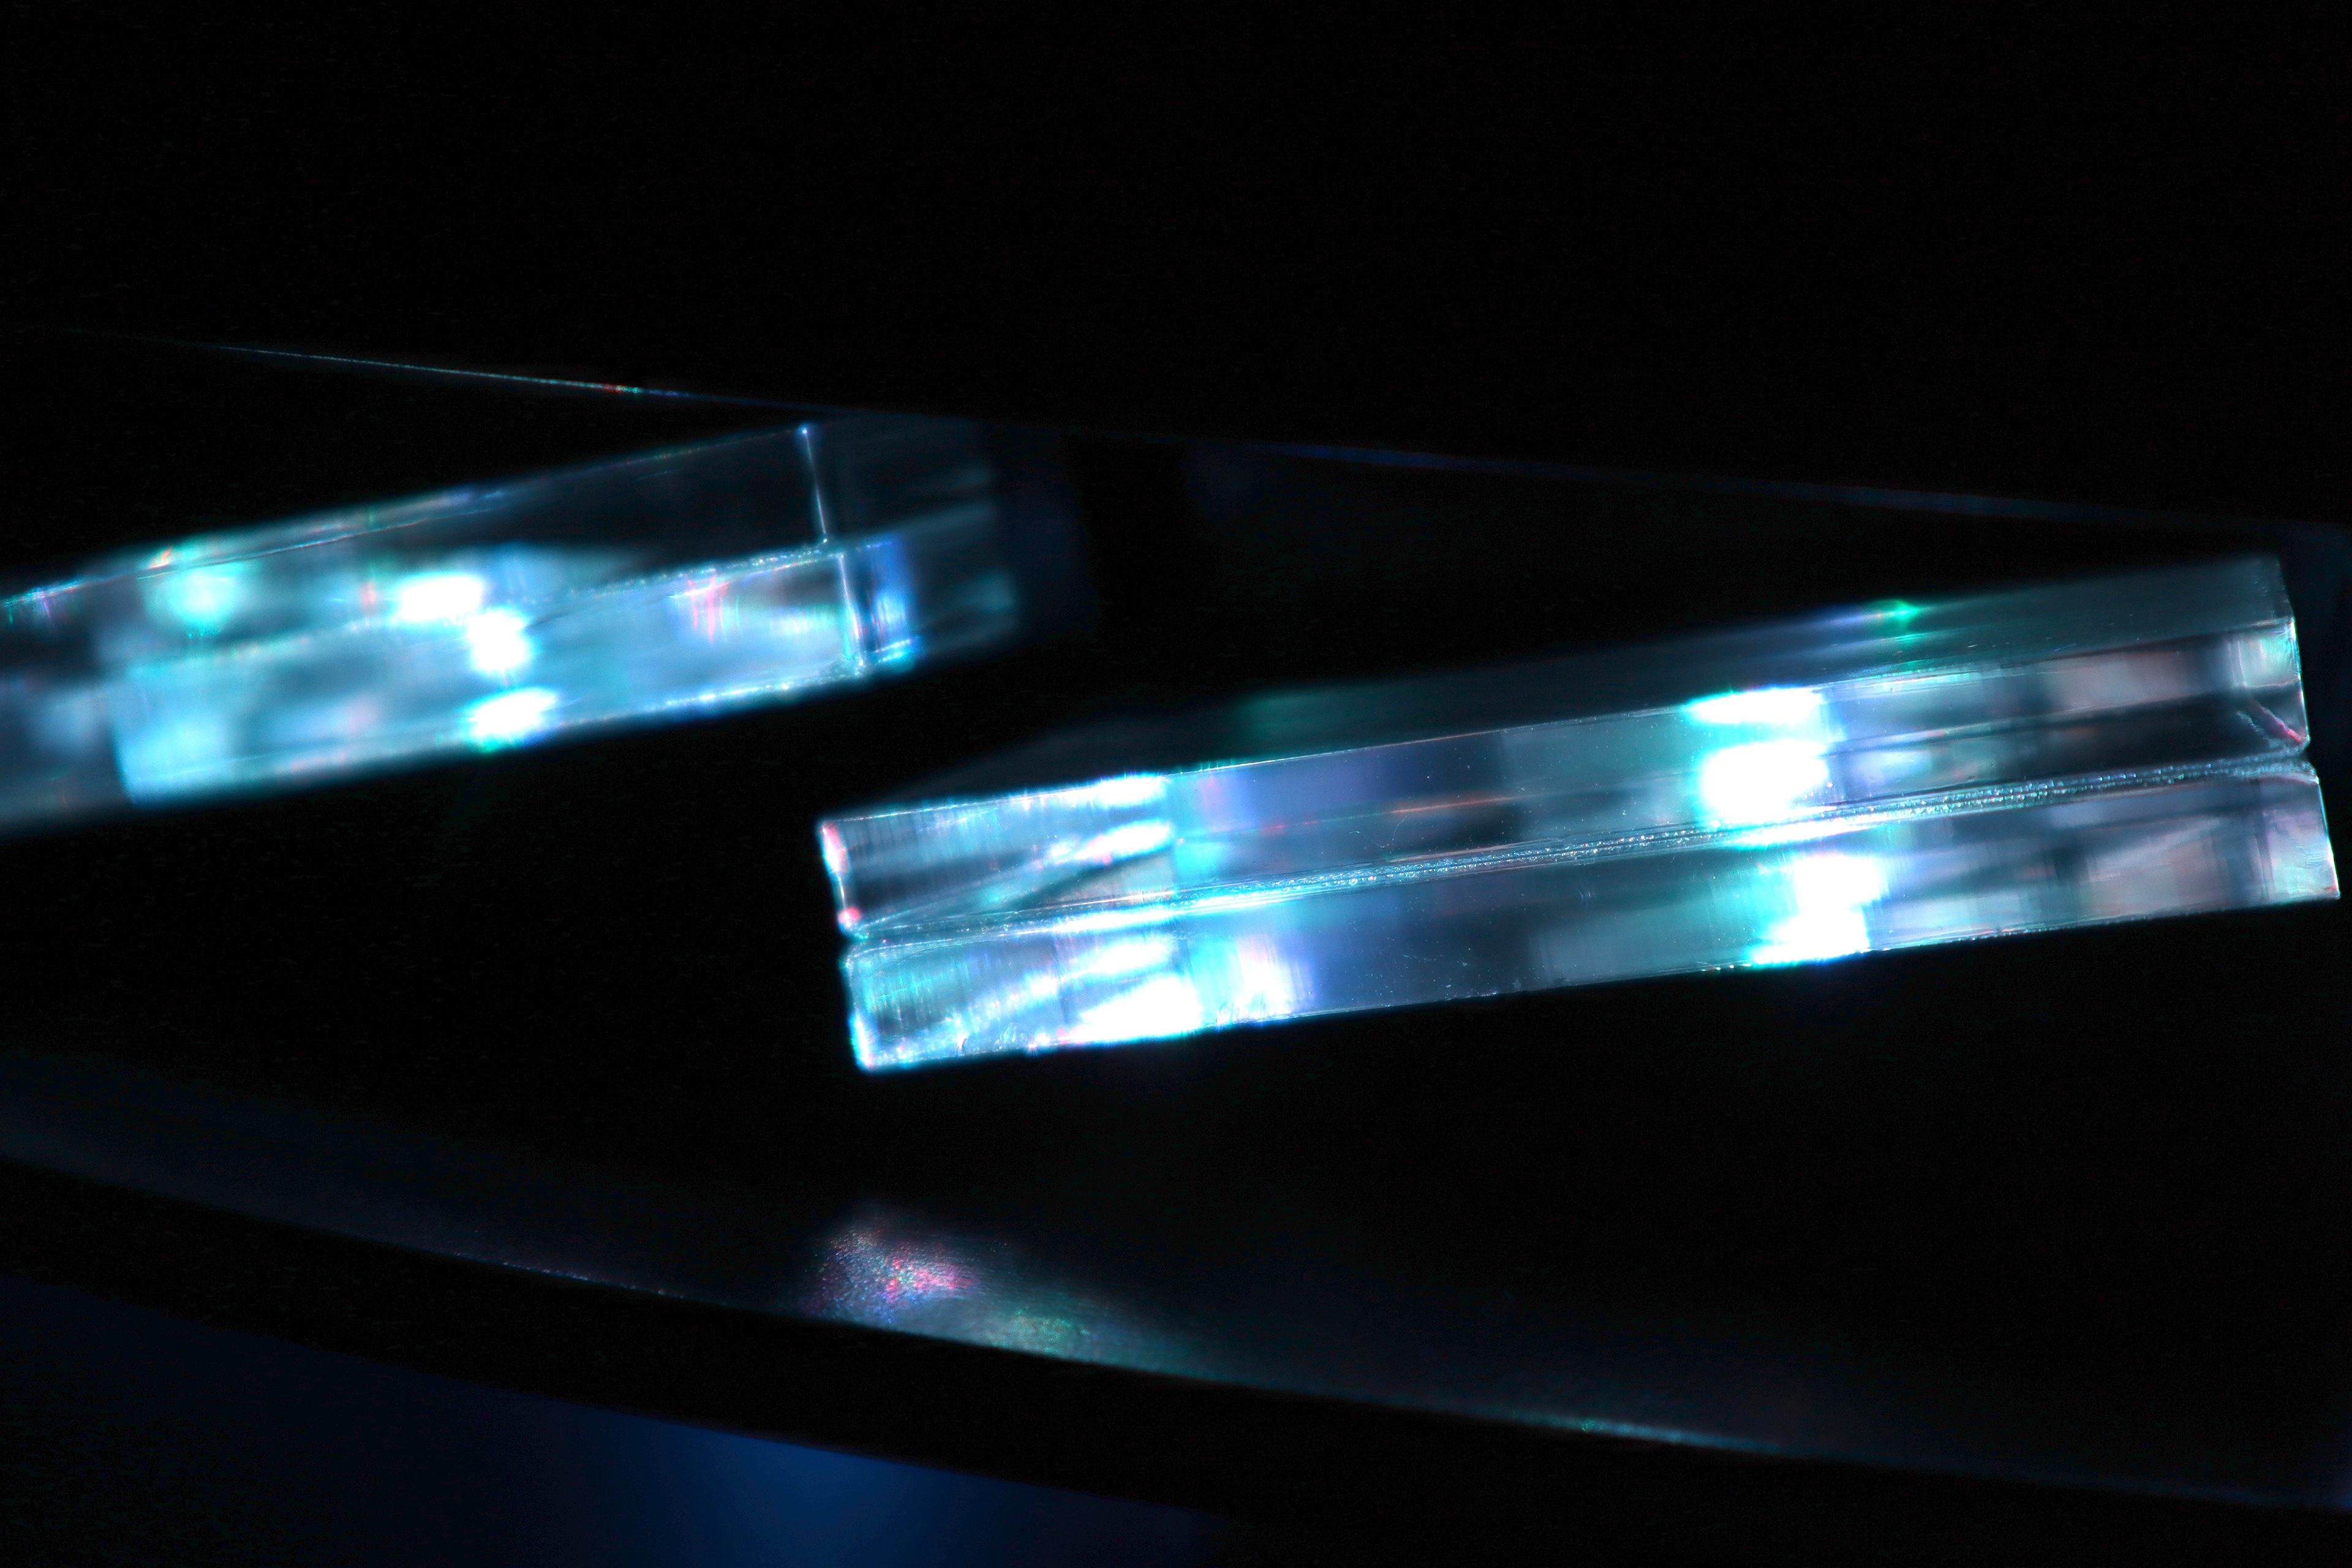
Headlight acrylic